Installs into .claude/skills of the current project.
Are you the author of 2822 Mcp Oauth D9fd734e?
Add the live security badge to your README. It updates with every re-scan.
[](https://www.skillsdirectory.com/skills/tools-only-2822-mcp-oauth-d9fd734e)
# MCP OAuth
LiteLLM supports two OAuth 2.0 flows for MCP servers:
| Flow | Use Case | How It Works |
|------|----------|--------------|
| **Interactive (PKCE)** | User-facing apps (Claude Code, Cursor) | Browser-based consent, per-user tokens |
| **Machine-to-Machine (M2M)** | Backend services, CI/CD, automated agents | `client_credentials` grant, proxy-managed tokens |
## Interactive OAuth (PKCE)
For user-facing MCP clients (Claude Code, Cursor), LiteLLM supports the full OAuth 2.0 authorization code flow with PKCE.
### Setup
```yaml title="config.yaml" showLineNumbers
mcp_servers:
github_mcp:
url: "https://api.githubcopilot.com/mcp"
auth_type: oauth2
client_id: os.environ/GITHUB_OAUTH_CLIENT_ID
client_secret: os.environ/GITHUB_OAUTH_CLIENT_SECRET
```
[**See Claude Code Tutorial**](./tutorials/claude_responses_api#connecting-mcp-servers)
### How It Works
```mermaid
sequenceDiagram
participant Browser as User-Agent (Browser)
participant Client as Client
participant LiteLLM as LiteLLM Proxy
participant MCP as MCP Server (Resource Server)
participant Auth as Authorization Server
Note over Client,LiteLLM: Step 1 – Resource discovery
Client->>LiteLLM: GET /.well-known/oauth-protected-resource/{mcp_server_name}/mcp
LiteLLM->>Client: Return resource metadata
Note over Client,LiteLLM: Step 2 – Authorization server discovery
Client->>LiteLLM: GET /.well-known/oauth-authorization-server/{mcp_server_name}
LiteLLM->>Client: Return authorization server metadata
Note over Client,Auth: Step 3 – Dynamic client registration
Client->>LiteLLM: POST /{mcp_server_name}/register
LiteLLM->>Auth: Forward registration request
Auth->>LiteLLM: Issue client credentials
LiteLLM->>Client: Return client credentials
Note over Client,Browser: Step 4 – User authorization (PKCE)
Client->>Browser: Open authorization URL + code_challenge + resource
Browser->>Auth: Authorization request
Note over Auth: User authorizes
Auth->>Browser: Redirect with authorization code
Browser->>LiteLLM: Callback to LiteLLM with code
LiteLLM->>Browser: Redirect back with authorization code
Browser->>Client: Callback with authorization code
Note over Client,Auth: Step 5 – Token exchange
Client->>LiteLLM: Token request + code_verifier + resource
LiteLLM->>Auth: Forward token request
Auth->>LiteLLM: Access (and refresh) token
LiteLLM->>Client: Return tokens
Note over Client,MCP: Step 6 – Authenticated MCP call
Client->>LiteLLM: MCP request with access token + LiteLLM API key
LiteLLM->>MCP: MCP request with Bearer token
MCP-->>LiteLLM: MCP response
LiteLLM-->>Client: Return MCP response
```
**Participants**
- **Client** -- The MCP-capable AI agent (e.g., Claude Code, Cursor, or another IDE/agent) that initiates OAuth discovery, authorization, and tool invocations on behalf of the user.
- **LiteLLM Proxy** -- Mediates all OAuth discovery, registration, token exchange, and MCP traffic while protecting stored credentials.
- **Authorization Server** -- Issues OAuth 2.0 tokens via dynamic client registration, PKCE authorization, and token endpoints.
- **MCP Server (Resource Server)** -- The protected MCP endpoint that receives LiteLLM's authenticated JSON-RPC requests.
- **User-Agent (Browser)** -- Temporarily involved so the end user can grant consent during the authorization step.
**Flow Steps**
1. **Resource Discovery**: The client fetches MCP resource metadata from LiteLLM's `.well-known/oauth-protected-resource` endpoint to understand scopes and capabilities.
2. **Authorization Server Discovery**: The client retrieves the OAuth server metadata (token endpoint, authorization endpoint, supported PKCE methods) through LiteLLM's `.well-known/oauth-authorization-server` endpoint.
3. **Dynamic Client Registration**: The client registers through LiteLLM, which forwards the request to the authorization server (RFC 7591). If the provider doesn't support dynamic registration, you can pre-store `client_id`/`client_secret` in LiteLLM (e.g., GitHub MCP) and the flow proceeds the same way.
4. **User Authorization**: The client launches a browser session (with code challenge and resource hints). The user approves access, the authorization server sends the code through LiteLLM back to the client.
5. **Token Exchange**: The client calls LiteLLM with the authorization code, code verifier, and resource. LiteLLM exchanges them with the authorization server and returns the issued access/refresh tokens.
6. **MCP Invocation**: With a valid token, the client sends the MCP JSON-RPC request (plus LiteLLM API key) to LiteLLM, which forwards it to the MCP server and relays the tool response.
See the official [MCP Authorization Flow](https://modelcontextprotocol.io/specification/2025-06-18/basic/authorization#authorization-flow-steps) for additional reference.
## Machine-to-Machine (M2M) Auth
LiteLLM automatically fetches, caches, and refreshes OAuth2 tokens using the `client_credentials` grant. No manual token management required.
### Setup
You can configure M2M OAuth via the LiteLLM UI or `config.yaml`.
### UI Setup
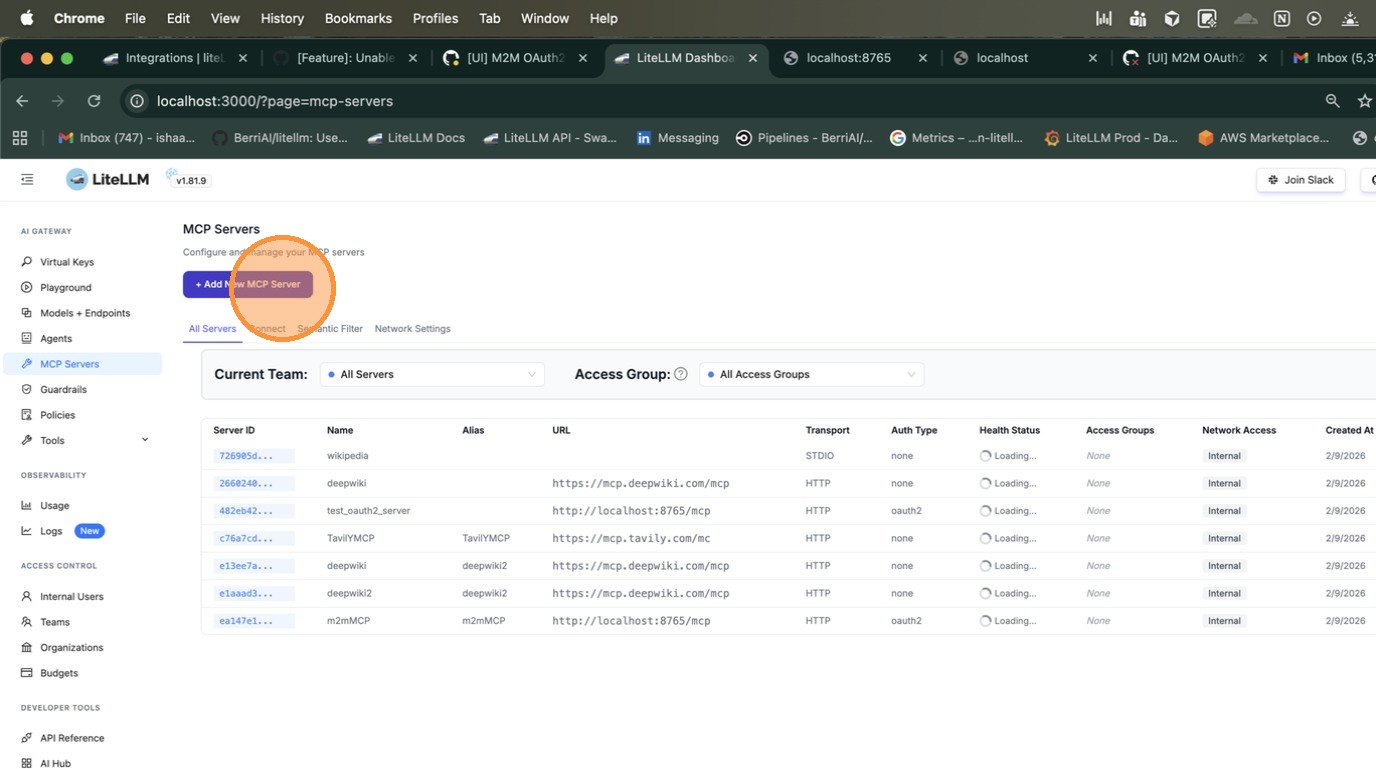
Navigate to the **MCP Servers** page and click **+ Add New MCP Server**.
Enter a name for your server and select **HTTP** as the transport type.
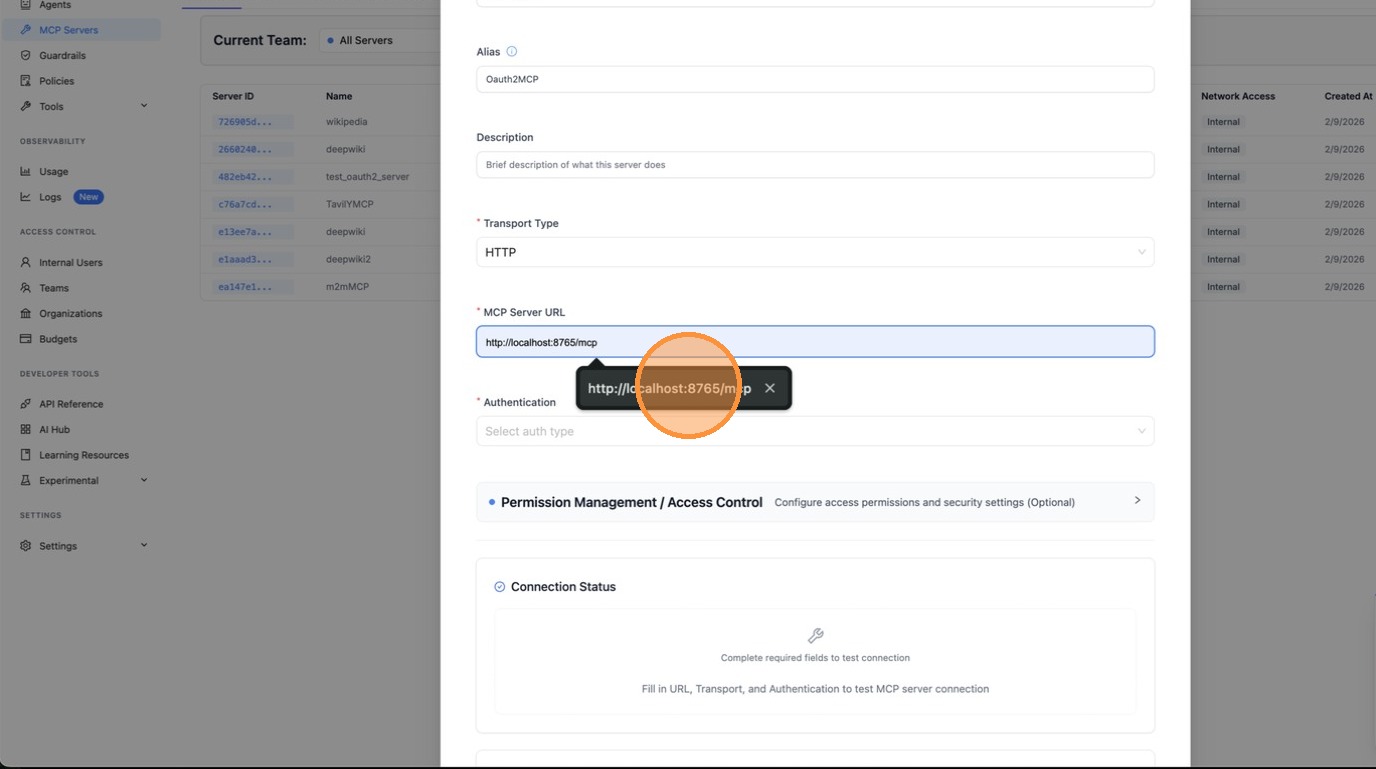
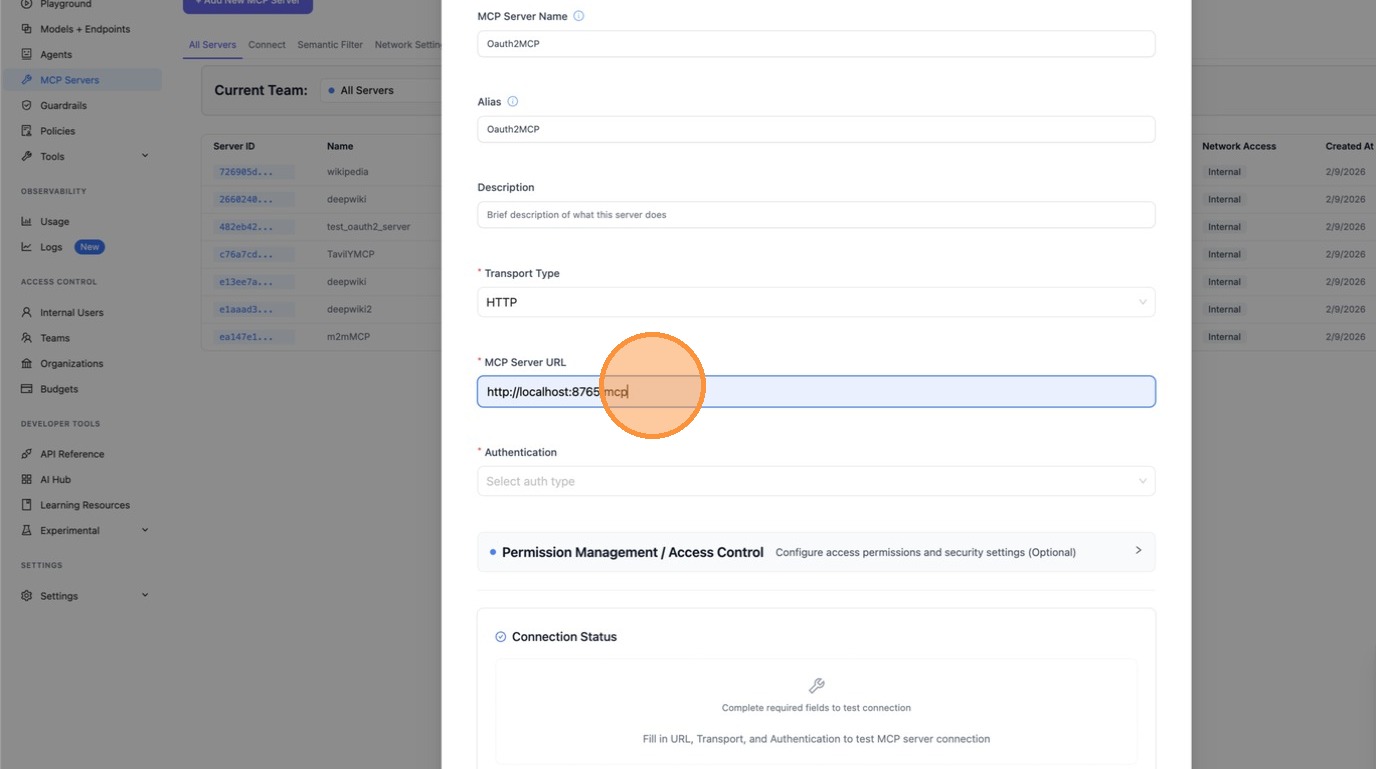
Paste the MCP server URL.
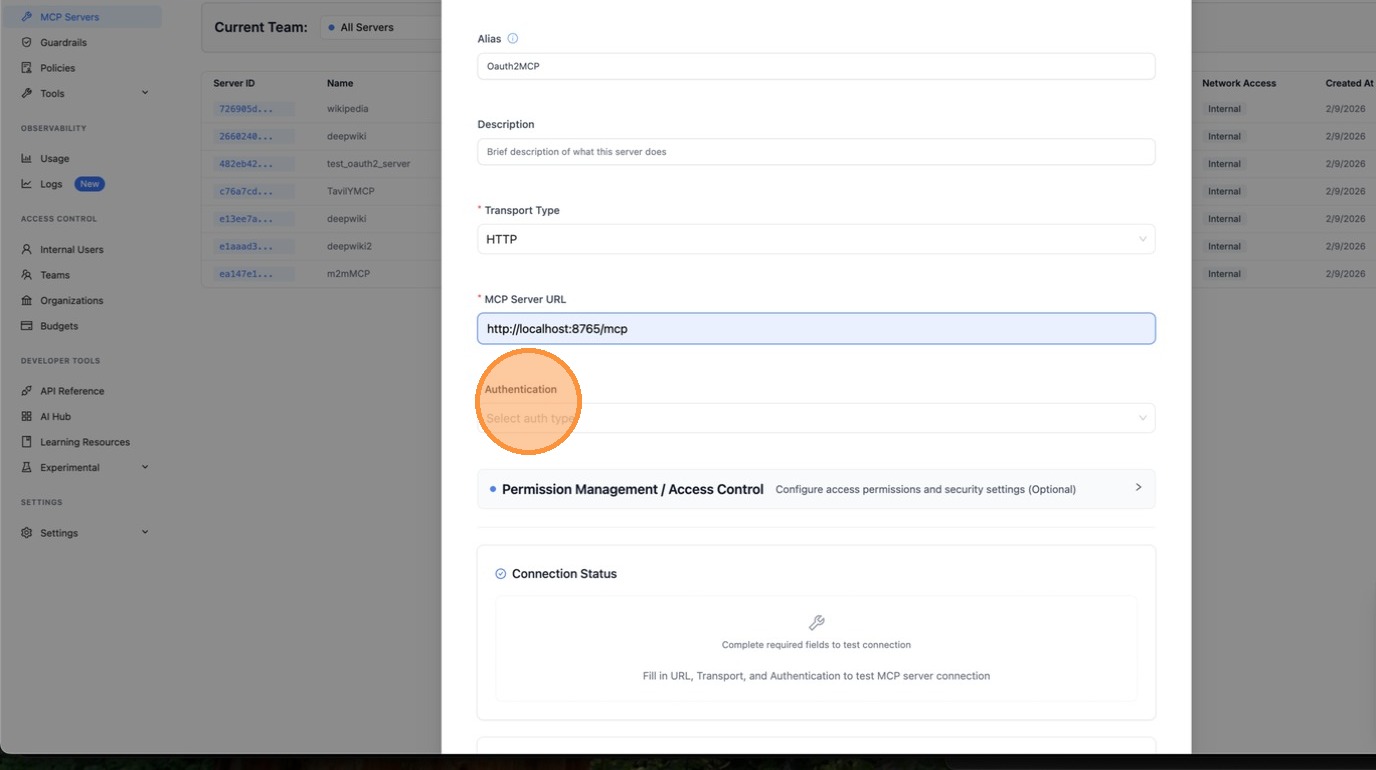
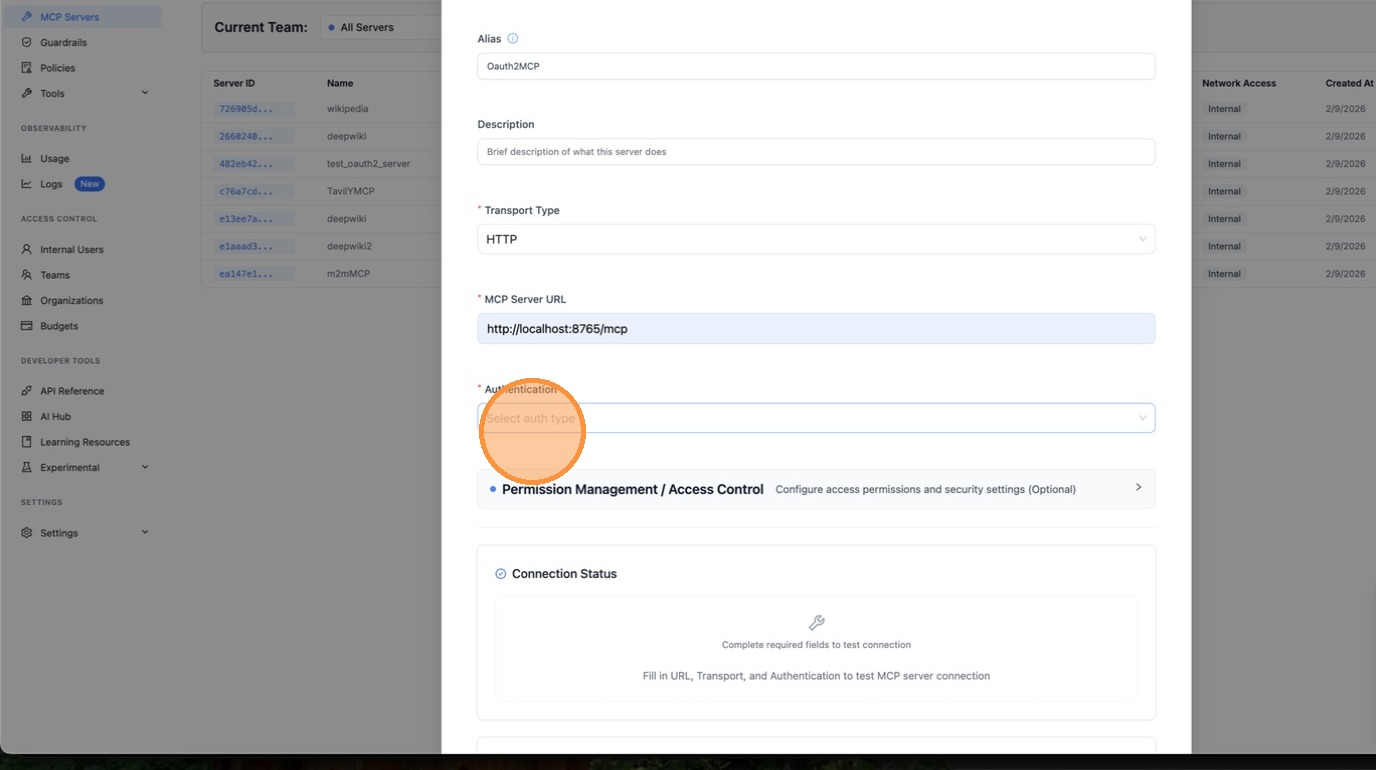
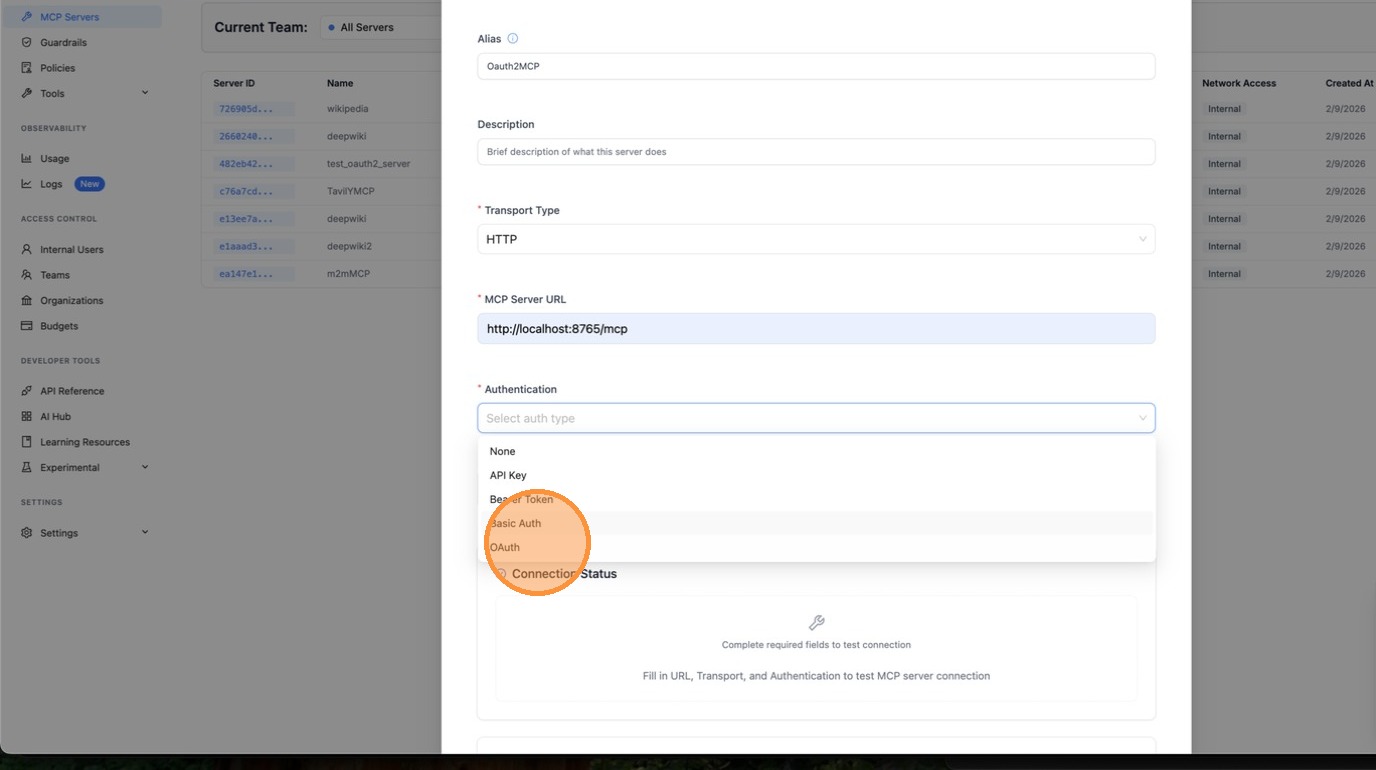
Under **Authentication**, select **OAuth**.
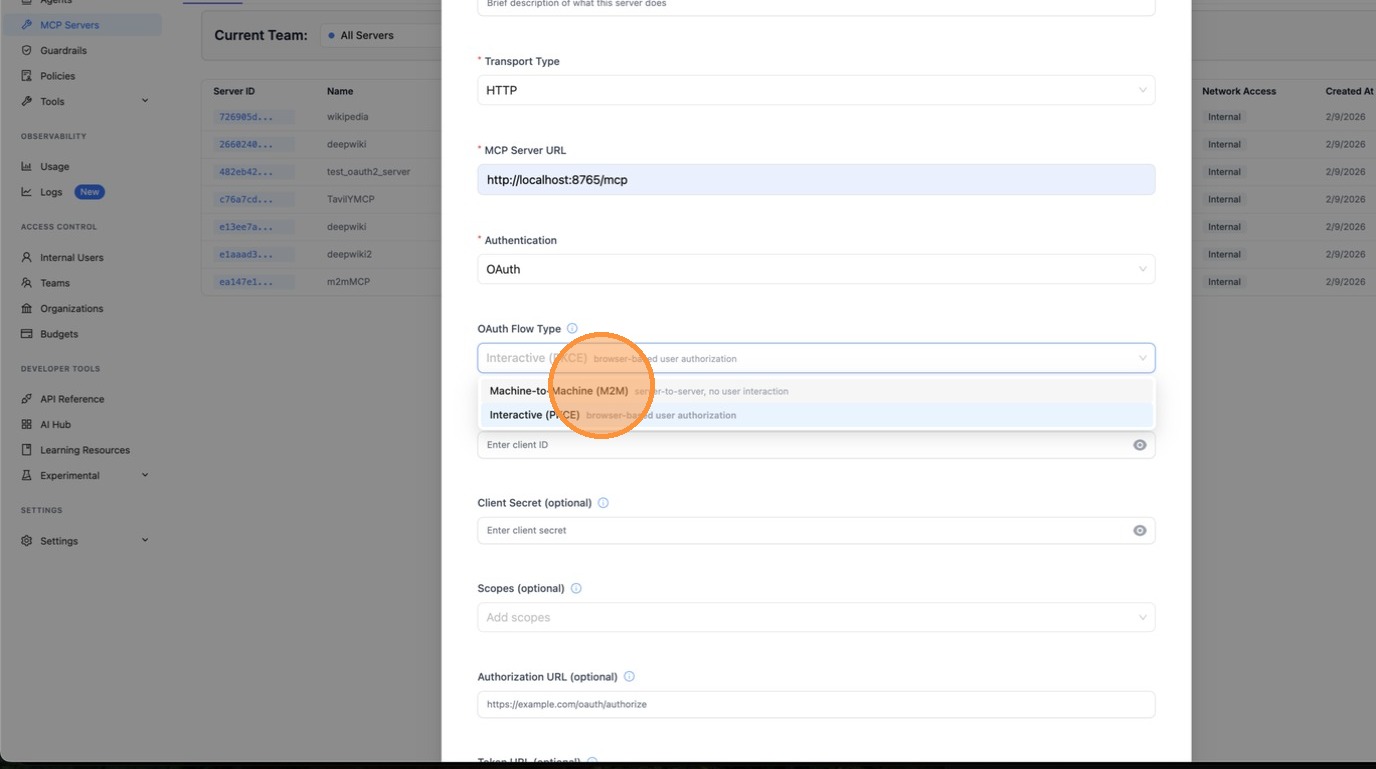
Choose **Machine-to-Machine (M2M)** as the OAuth flow type. This is for server-to-server authentication using the `client_credentials` grant — no browser interaction required.
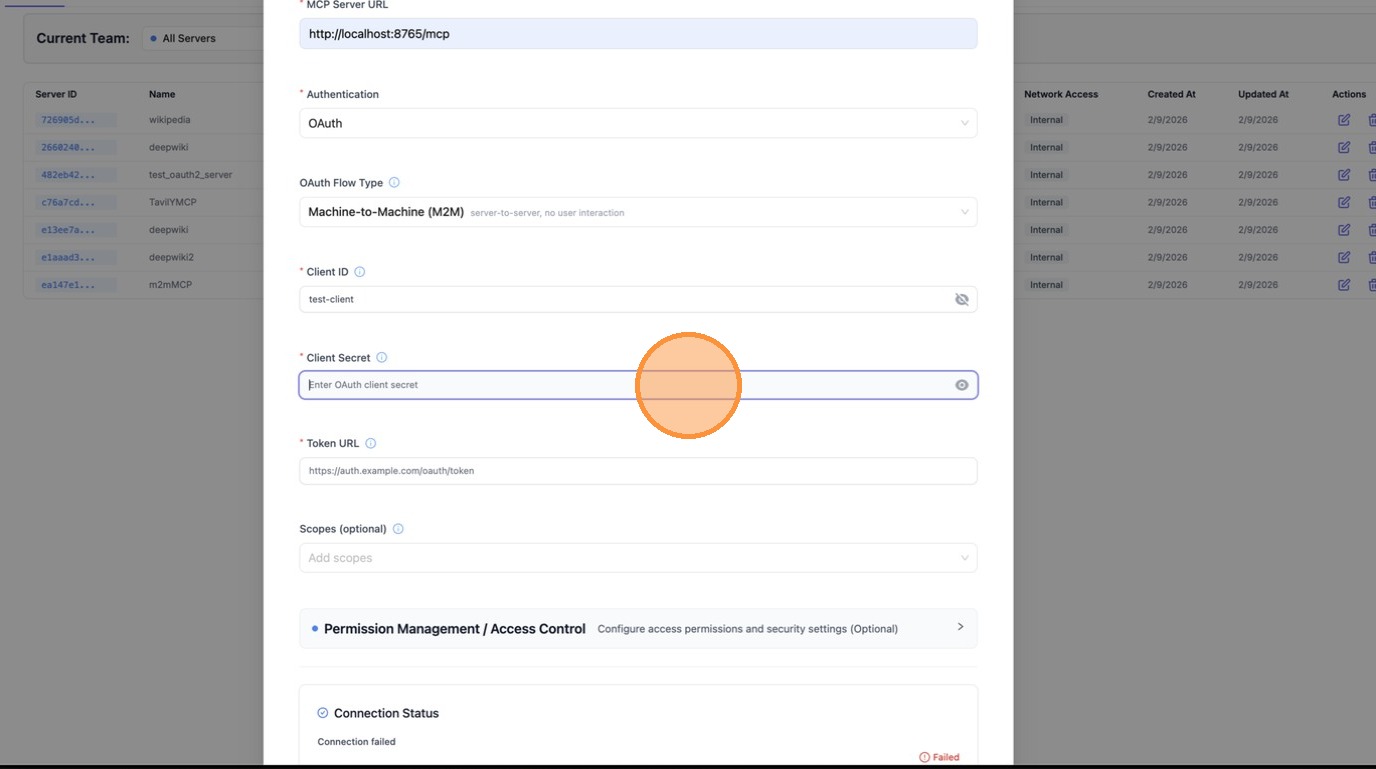
Fill in the **Client ID** and **Client Secret** provided by your OAuth provider.
Enter the **Token URL** — this is the endpoint LiteLLM will call to fetch access tokens using `client_credentials`.
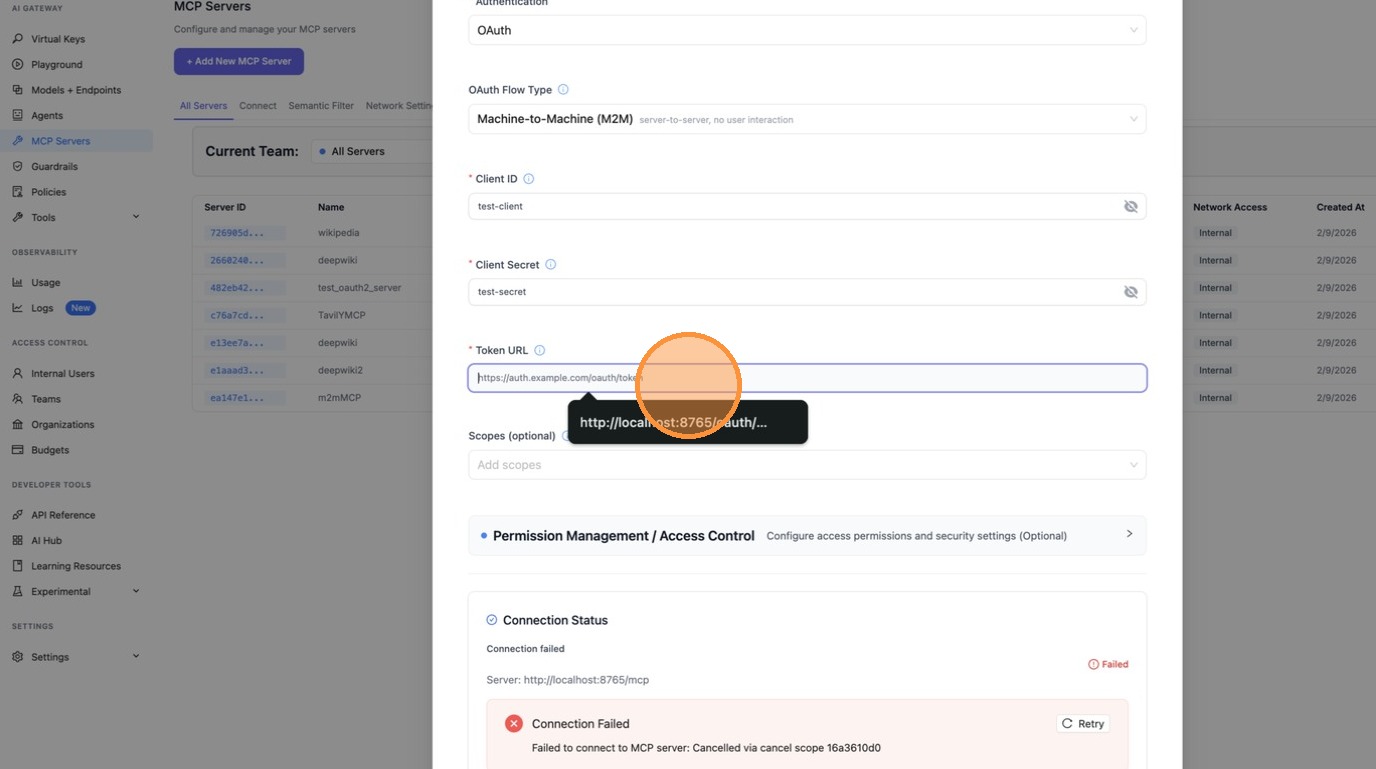
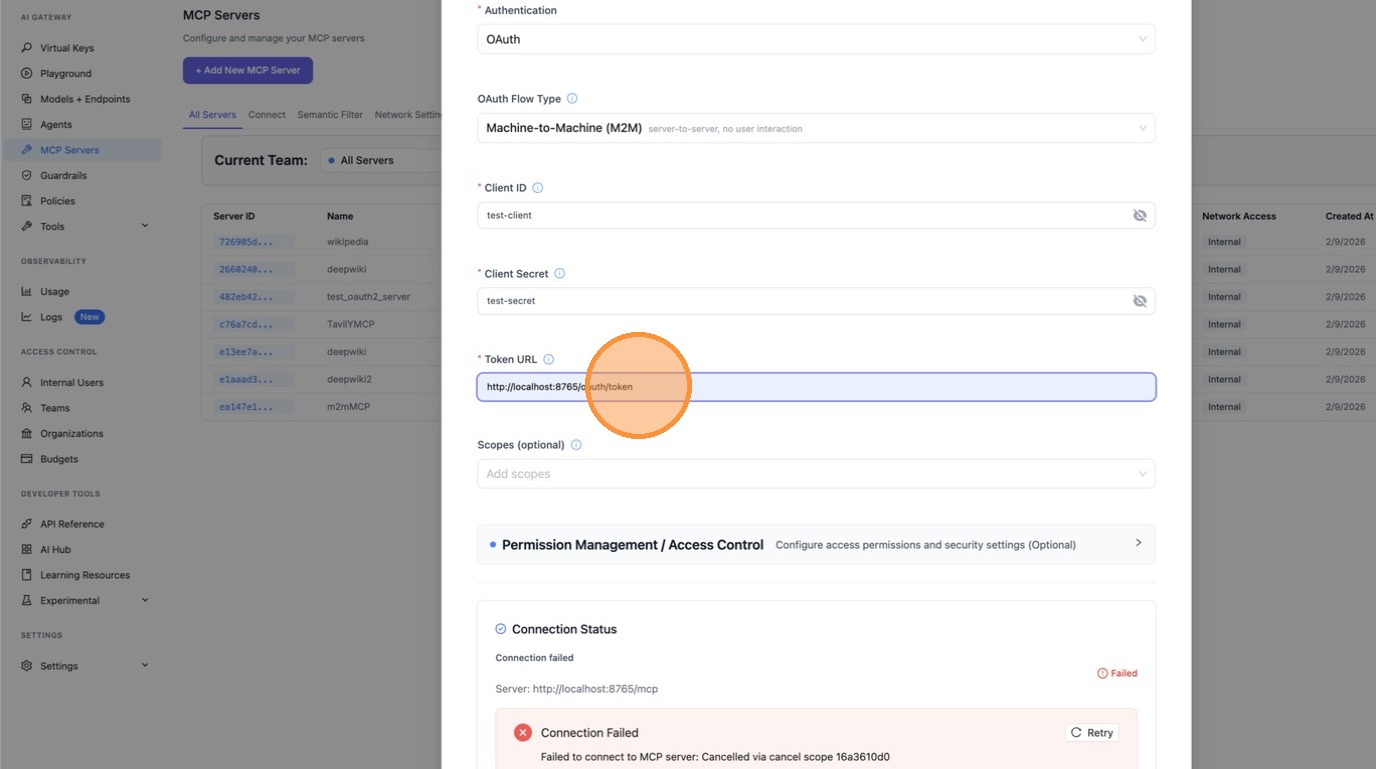
Scroll down and review the server URL and all fields, then click **Create MCP Server**.
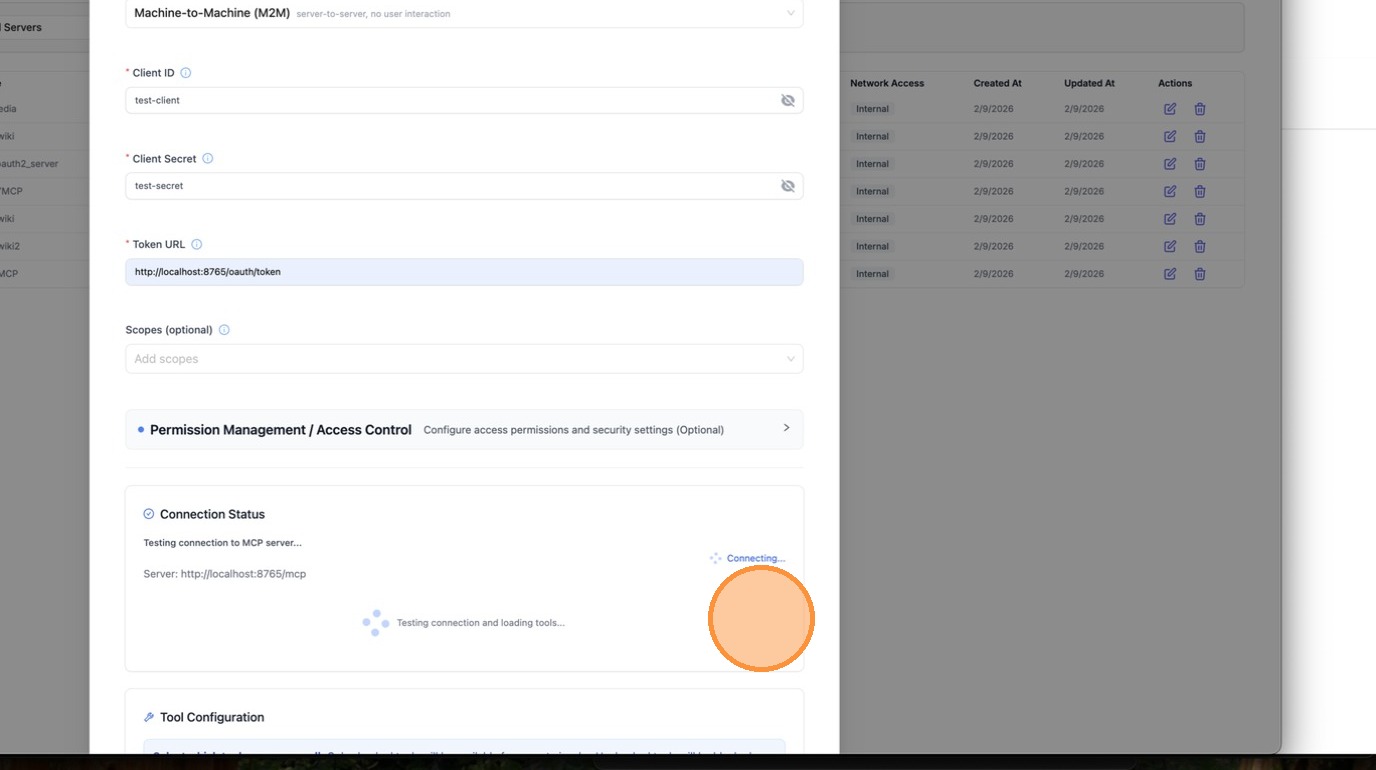
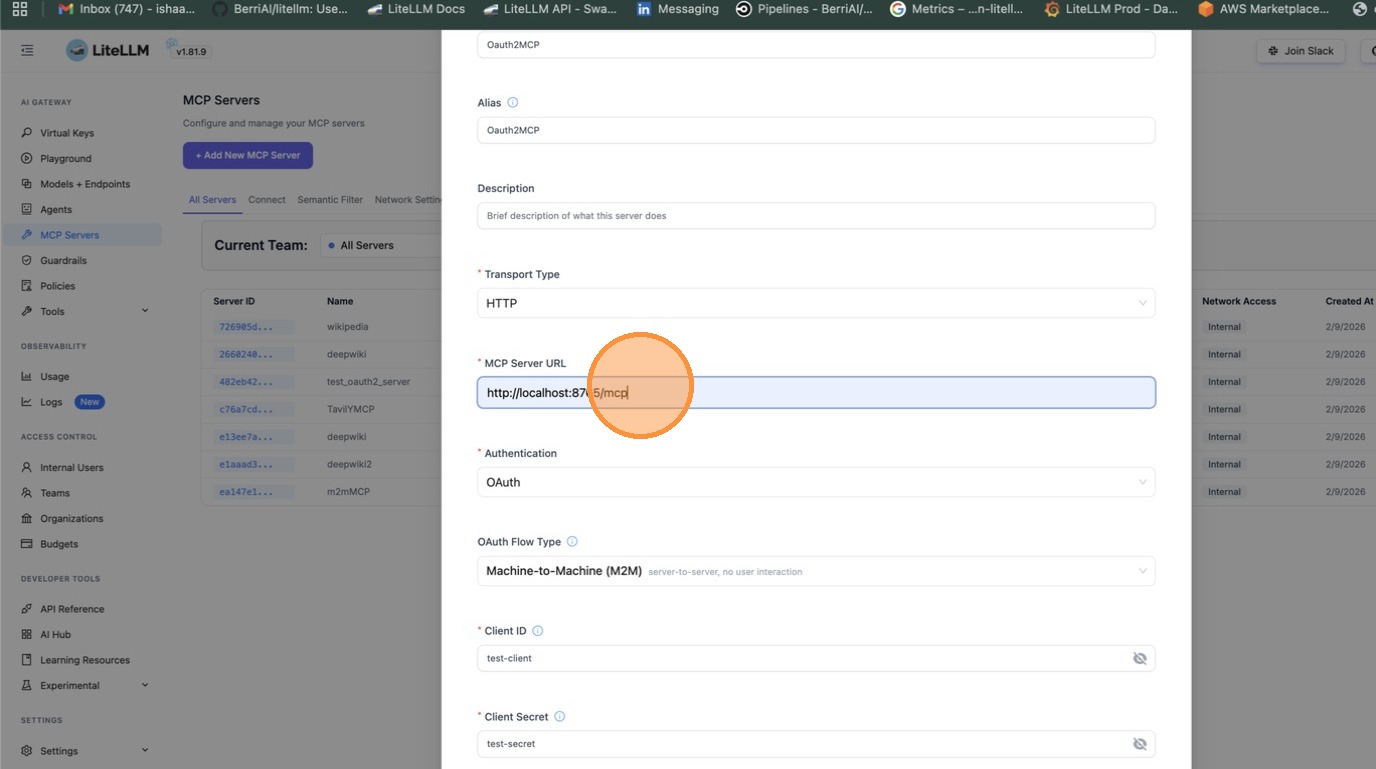
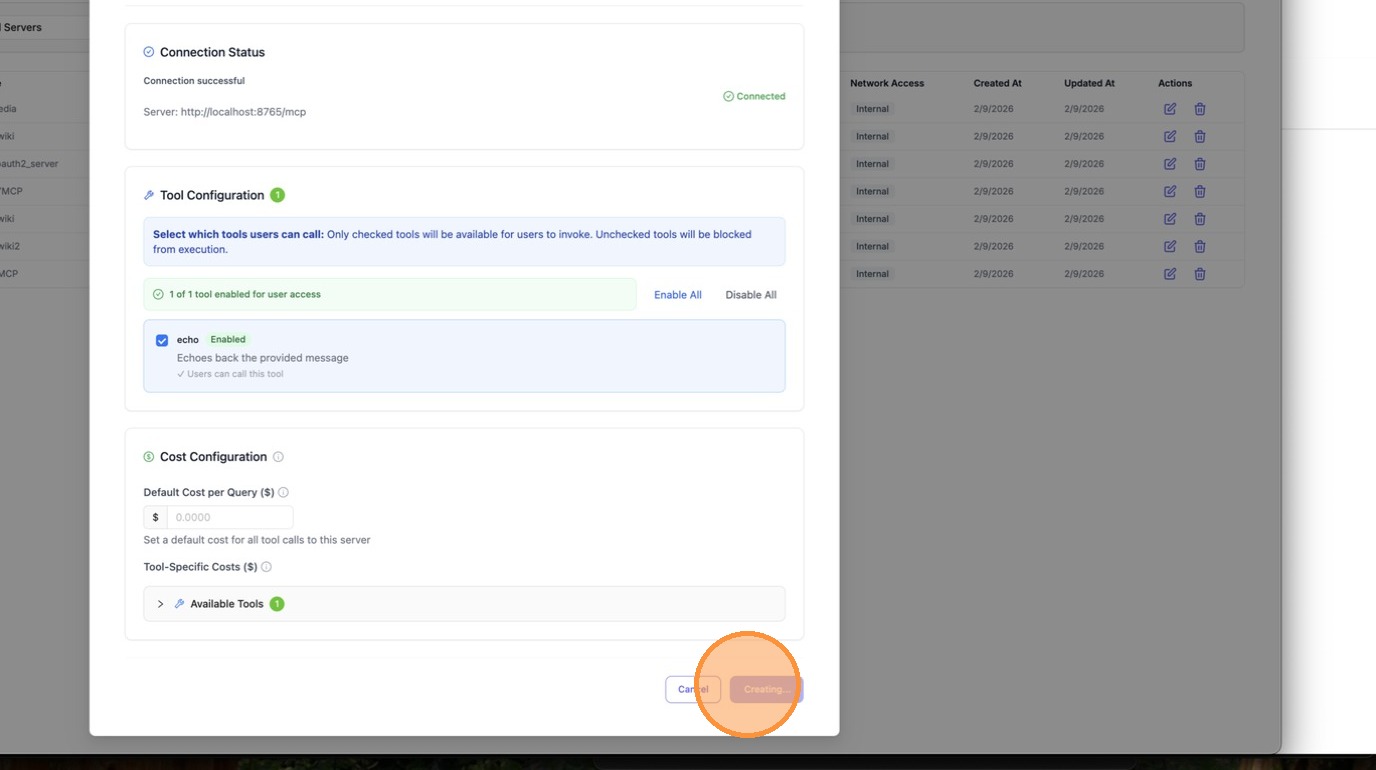
Once created, open the server and navigate to the **MCP Tools** tab to verify that LiteLLM can connect and list available tools.
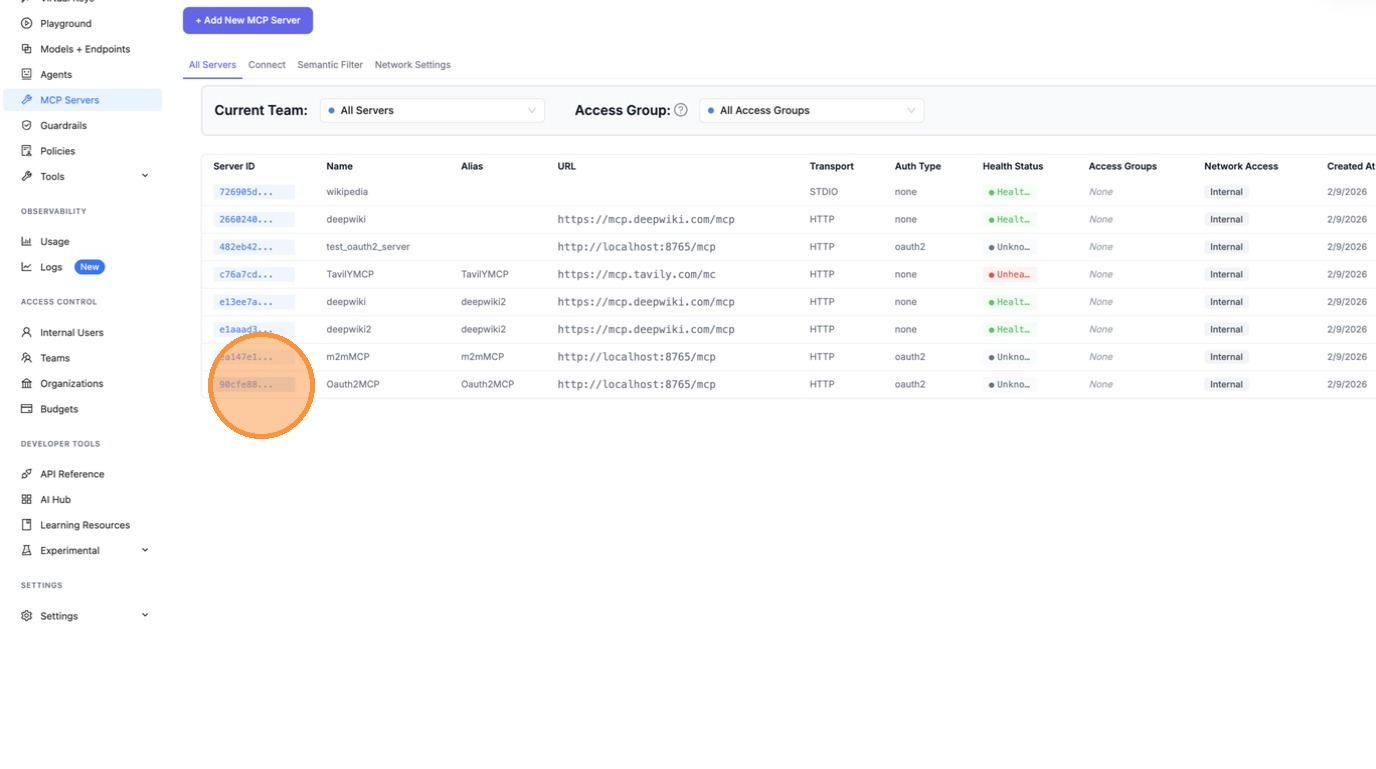
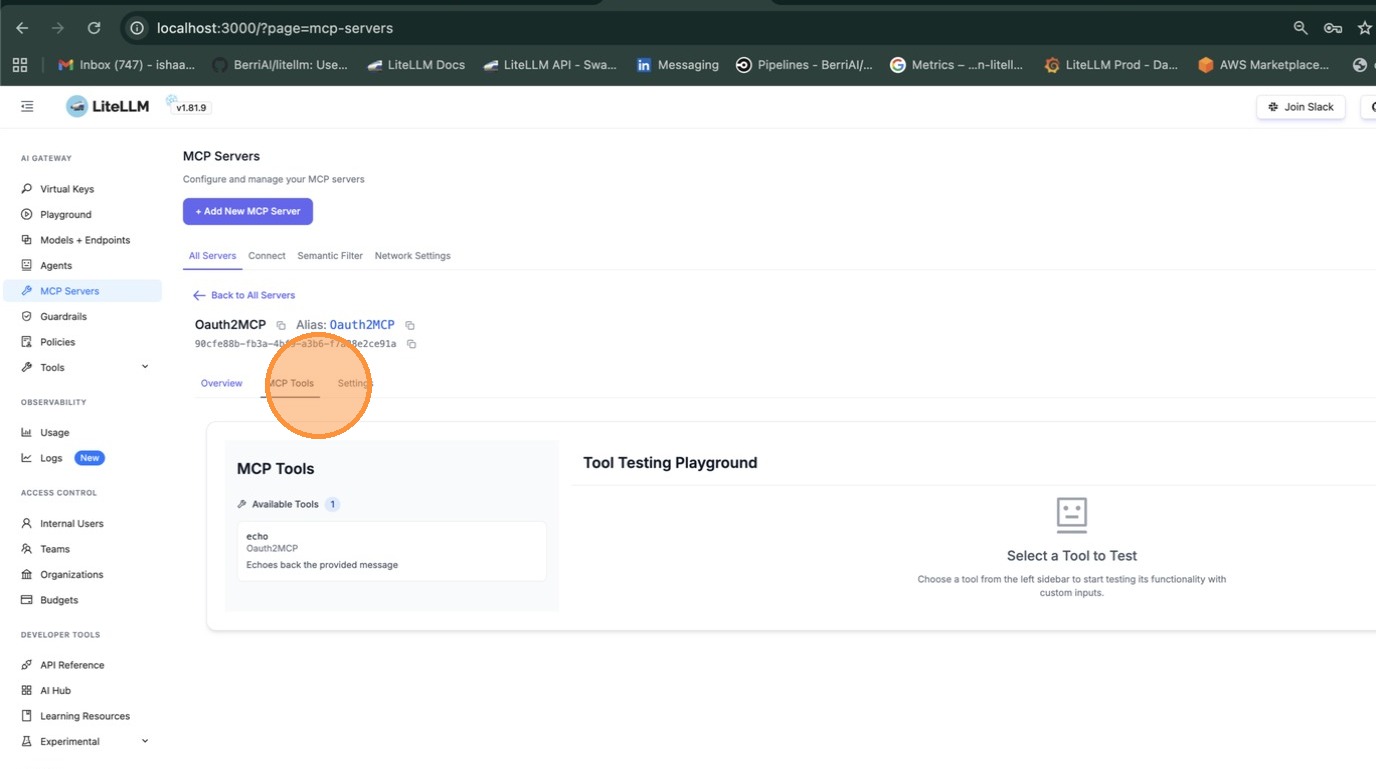
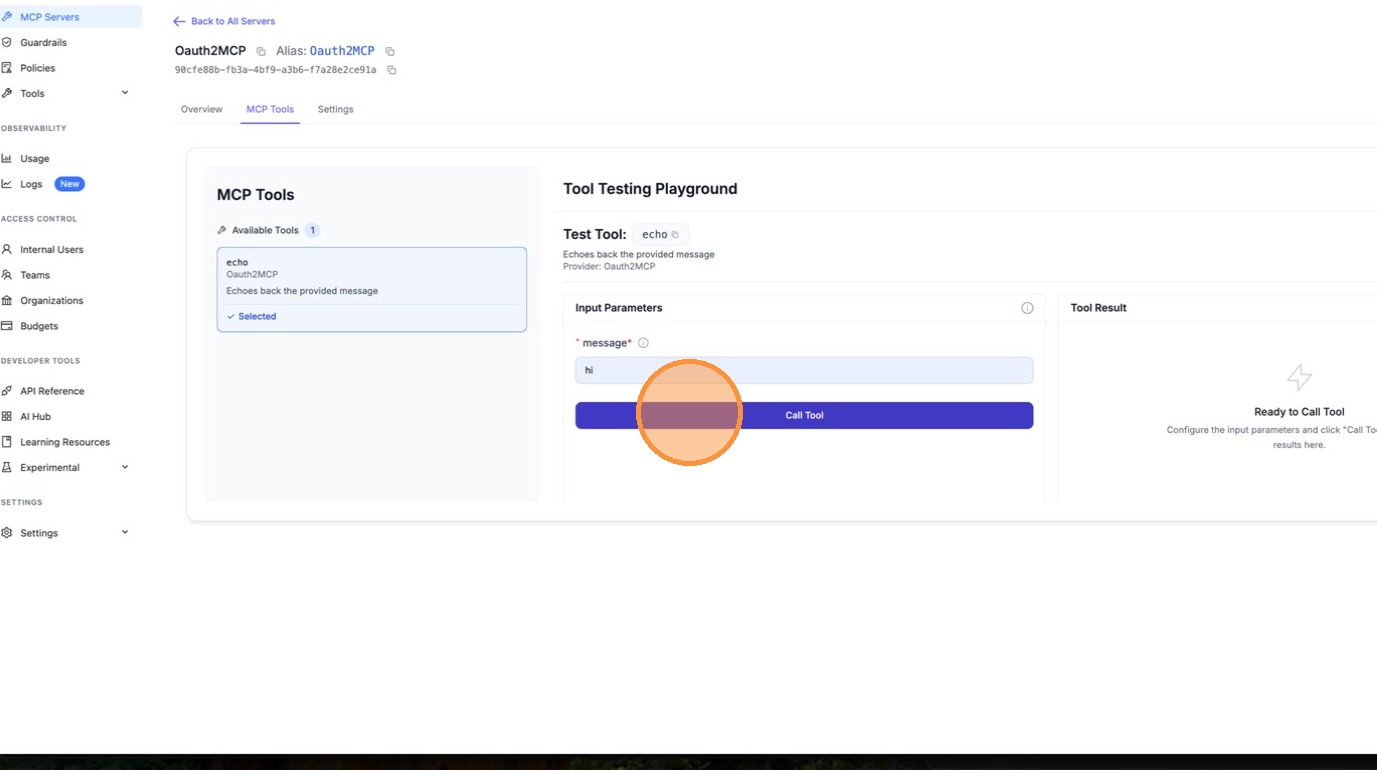
Select a tool (e.g. **echo**) to test it. Fill in the required parameters and click **Call Tool**.
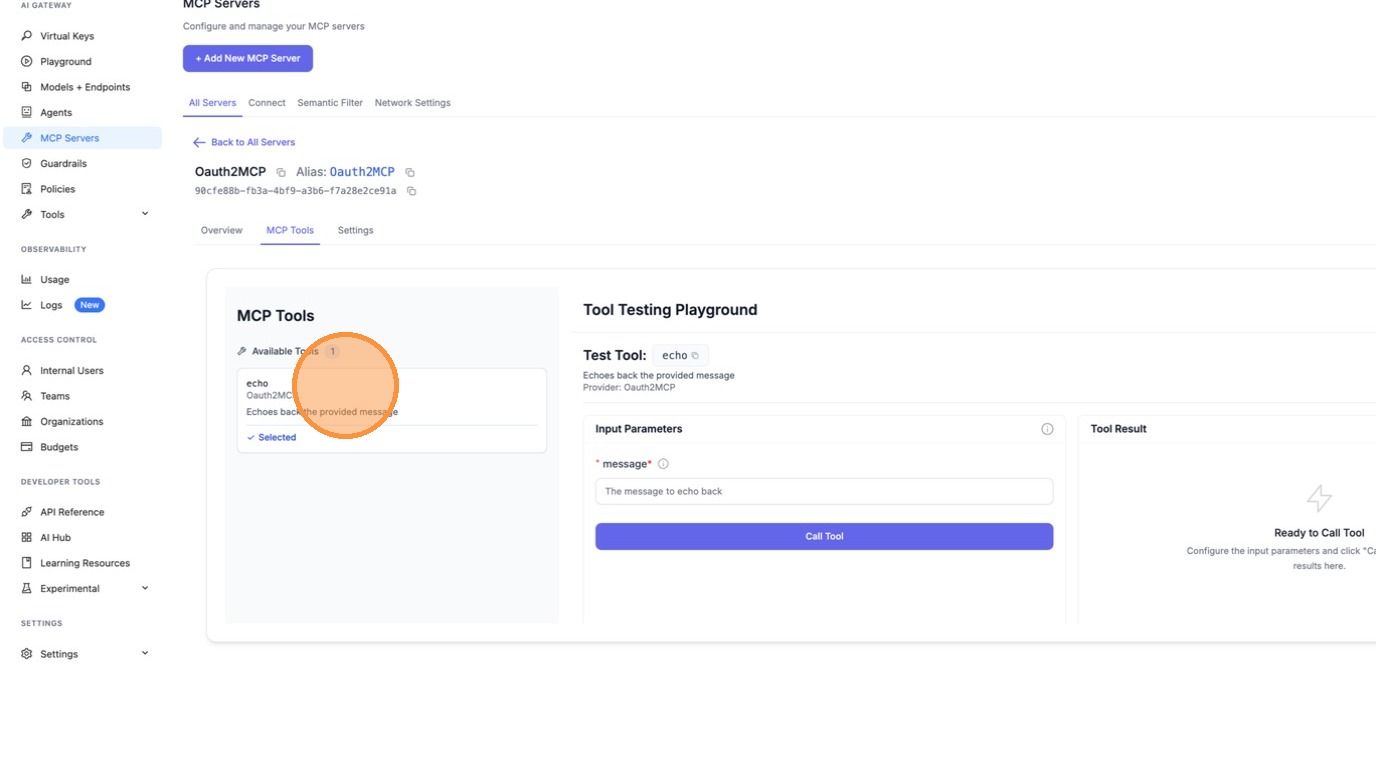
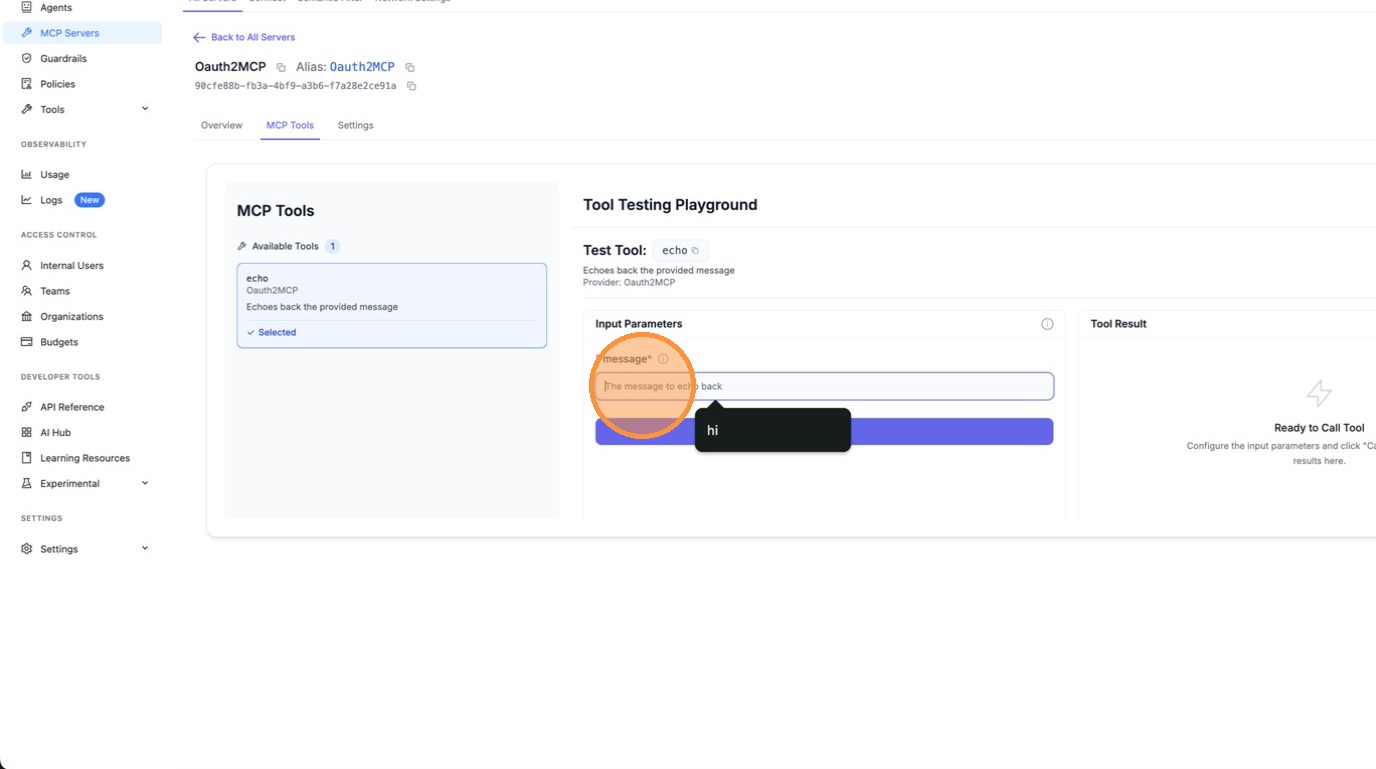
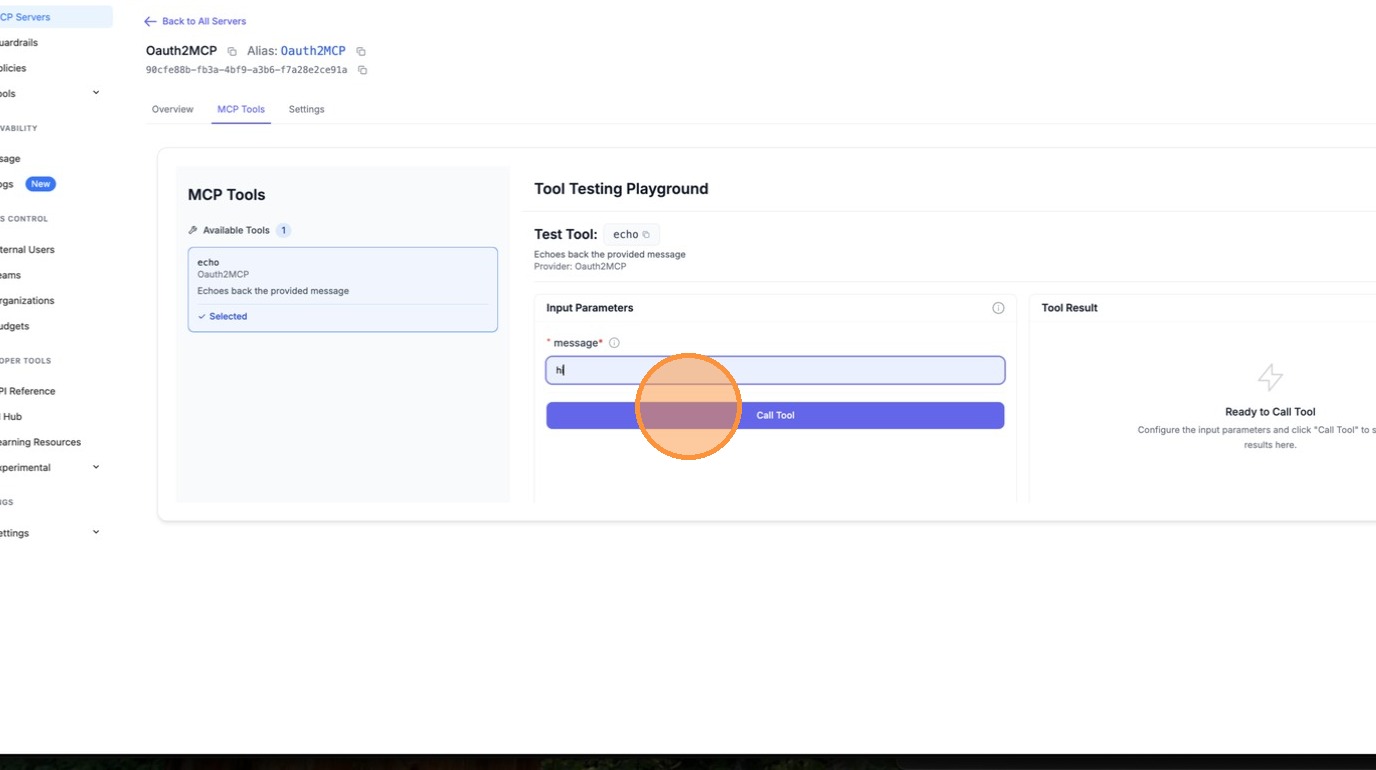
LiteLLM automatically fetches an OAuth token behind the scenes and calls the tool. The result confirms the M2M OAuth flow is working end-to-end.
### Config.yaml Setup
```yaml title="config.yaml" showLineNumbers
mcp_servers:
my_mcp_server:
url: "https://my-mcp-server.com/mcp"
auth_type: oauth2
client_id: os.environ/MCP_CLIENT_ID
client_secret: os.environ/MCP_CLIENT_SECRET
token_url: "https://auth.example.com/oauth/token"
scopes: ["mcp:read", "mcp:write"] # optional
```
### How It Works
1. On first MCP request, LiteLLM POSTs to `token_url` with `grant_type=client_credentials`
2. The access token is cached in-memory with TTL = `expires_in - 60s`
3. Subsequent requests reuse the cached token
4. When the token expires, LiteLLM fetches a new one automatically
```mermaid
sequenceDiagram
participant Client as Client
participant LiteLLM as LiteLLM Proxy
participant Auth as Authorization Server
participant MCP as MCP Server
Client->>LiteLLM: MCP request + LiteLLM API key
LiteLLM->>Auth: POST /oauth/token (client_credentials)
Auth->>LiteLLM: access_token (expires_in: 3600)
LiteLLM->>MCP: MCP request + Bearer token
MCP-->>LiteLLM: MCP response
LiteLLM-->>Client: MCP response
Note over LiteLLM: Token cached for subsequent requests
Client->>LiteLLM: Next MCP request
LiteLLM->>MCP: MCP request + cached Bearer token
MCP-->>LiteLLM: MCP response
LiteLLM-->>Client: MCP response
```
### Test with Mock Server
Use [BerriAI/mock-oauth2-mcp-server](https://github.com/BerriAI/mock-oauth2-mcp-server) to test locally:
```bash title="Terminal 1 - Start mock server" showLineNumbers
pip install fastapi uvicorn
python mock_oauth2_mcp_server.py # starts on :8765
```
```yaml title="config.yaml" showLineNumbers
mcp_servers:
test_oauth2:
url: "http://localhost:8765/mcp"
auth_type: oauth2
client_id: "test-client"
client_secret: "test-secret"
token_url: "http://localhost:8765/oauth/token"
```
```bash title="Terminal 2 - Start proxy and test" showLineNumbers
litellm --config config.yaml --port 4000
# List tools
curl http://localhost:4000/mcp-rest/tools/list \
-H "Authorization: Bearer sk-1234"
# Call a tool
curl http://localhost:4000/mcp-rest/tools/call \
-H "Content-Type: application/json" \
-H "Authorization: Bearer sk-1234" \
-d '{"name": "echo", "arguments": {"message": "hello"}}'
```
### Config Reference
| Field | Required | Description |
|-------|----------|-------------|
| `auth_type` | Yes | Must be `oauth2` |
| `client_id` | Yes | OAuth2 client ID. Supports `os.environ/VAR_NAME` |
| `client_secret` | Yes | OAuth2 client secret. Supports `os.environ/VAR_NAME` |
| `token_url` | Yes | Token endpoint URL |
| `scopes` | No | List of scopes to request |
## Debugging OAuth
When the LiteLLM proxy is hosted remotely and you cannot access server logs, enable **debug headers** to get masked authentication diagnostics in the HTTP response.
### Enable Debug Mode
Add the `x-litellm-mcp-debug: true` header to your MCP client request.
**Claude Code:**
```bash
claude mcp add --transport http litellm_proxy http://proxy.example.com/atlassian_mcp/mcp \
--header "x-litellm-api-key: Bearer sk-..." \
--header "x-litellm-mcp-debug: true"
```
**curl:**
```bash
curl -X POST http://localhost:4000/atlassian_mcp/mcp \
-H "Content-Type: application/json" \
-H "x-litellm-api-key: Bearer sk-..." \
-H "x-litellm-mcp-debug: true" \
-d '{"jsonrpc":"2.0","id":1,"method":"tools/list","params":{}}'
```
### Reading the Debug Response Headers
The response includes these headers (all sensitive values are masked):
| Header | Description |
|--------|-------------|
| `x-mcp-debug-inbound-auth` | Which inbound auth headers were present. |
| `x-mcp-debug-oauth2-token` | The OAuth2 token (masked). Shows `SAME_AS_LITELLM_KEY` if the LiteLLM key is leaking. |
| `x-mcp-debug-auth-resolution` | Which auth method was used: `oauth2-passthrough`, `m2m-client-credentials`, `per-request-header`, `static-token`, or `no-auth`. |
| `x-mcp-debug-outbound-url` | The upstream MCP server URL. |
| `x-mcp-debug-server-auth-type` | The `auth_type` configured on the server. |
**Example — healthy OAuth2 passthrough:**
```
x-mcp-debug-inbound-auth: x-litellm-api-key=Bearer****1234; authorization=Bearer****ef01
x-mcp-debug-oauth2-token: Bearer****ef01
x-mcp-debug-auth-resolution: oauth2-passthrough
x-mcp-debug-outbound-url: https://mcp.atlassian.com/v1/mcp
x-mcp-debug-server-auth-type: oauth2
```
**Example — LiteLLM key leaking (misconfigured):**
```
x-mcp-debug-inbound-auth: authorization=Bearer****1234
x-mcp-debug-oauth2-token: Bearer****1234 (SAME_AS_LITELLM_KEY - likely misconfigured)
x-mcp-debug-auth-resolution: oauth2-passthrough
x-mcp-debug-outbound-url: https://mcp.atlassian.com/v1/mcp
x-mcp-debug-server-auth-type: oauth2
```
### Common Issues
#### LiteLLM API key leaking to the MCP server
**Symptom:** `x-mcp-debug-oauth2-token` shows `SAME_AS_LITELLM_KEY`.
The `Authorization` header carries the LiteLLM API key instead of an OAuth2 token. The OAuth2 flow never ran because the client already had an `Authorization` header set.
**Fix:** Move the LiteLLM key to `x-litellm-api-key`:
```bash
# WRONG — blocks OAuth2 discovery
claude mcp add --transport http my_server http://proxy/mcp/server \
--header "Authorization: Bearer sk-..."
# CORRECT — LiteLLM key in dedicated header, Authorization free for OAuth2
claude mcp add --transport http my_server http://proxy/mcp/server \
--header "x-litellm-api-key: Bearer sk-..."
```
#### No OAuth2 token present
**Symptom:** `x-mcp-debug-oauth2-token` shows `(none)` and `x-mcp-debug-auth-resolution` shows `no-auth`.
Check that:
1. The `Authorization` header is NOT set as a static header in the client config.
2. The MCP server in LiteLLM config has `auth_type: oauth2`.
3. The `.well-known/oauth-protected-resource` endpoint returns valid metadata.
#### M2M token used instead of user token
**Symptom:** `x-mcp-debug-auth-resolution` shows `m2m-client-credentials`.
The server has `client_id`/`client_secret`/`token_url` configured so LiteLLM is fetching a machine-to-machine token instead of using the per-user OAuth2 token. To use per-user tokens, remove the client credentials from the server config.

