Installs into .claude/skills of the current project.
Are you the author of Iblai Vibe Ops Build?
Add the live security badge to your README. It updates with every re-scan.
[](https://www.skillsdirectory.com/skills/iblai-iblai-vibe-ops-build)
---
name: iblai-vibe-ops-build
description: Build and run your ibl.ai app on desktop and mobile (iOS, Android, macOS, Surface)
globs:
alwaysApply: false
metadata:
kind: ops
---
# /iblai-vibe-ops-build
Build and run your ibl.ai app on desktop and mobile using Tauri v2. Covers
iOS, Android, macOS/Linux desktop, and Surface tablet builds.
> **Building:** run Tauri directly — `pnpm exec tauri <cmd>` (e.g.
> `pnpm exec tauri dev`, `pnpm exec tauri ios build`). The Tauri
> shell templates live in [`assets/tauri/`](assets/tauri/) (copy into
> `src-tauri/`), the CI workflows in
> [`assets/tauri/workflows/`](assets/tauri/workflows/), and the default app
> icons in [`assets/icons/`](assets/icons/). The build commands,
> prerequisites, and MSIX notes are in
> [`references/tauri-commands.md`](references/tauri-commands.md).
Before adding build support or running a dev build, **stop all running dev
servers** (`pnpm dev`, `next dev`, etc.) to avoid port conflicts. Kill any
process on port 3000 before proceeding.
When the user asks to add iOS or Android build support, automatically start
the emulator/simulator after initialization -- just like you would start
`pnpm dev` after adding auth. Run `xcrun simctl list devices` (iOS) / `adb devices` (Android) to find the
available device name, then start the dev build with that device.
Do NOT guess device names. Always run `xcrun simctl list devices` (iOS) / `adb devices` (Android) first and use
a device name from the output.
## Prerequisites (All Platforms)
- **Tauri support** added to your project:
```bash
# add the Tauri shell: copy assets/tauri/ into src-tauri/ + add @tauri-apps deps
pnpm install --ignore-scripts
```
> Run with `--ignore-scripts` to skip package lifecycle (postinstall) scripts.
- **Rust toolchain** installed via [rustup](https://rustup.rs)
## How Dev Builds Work
All platforms (desktop and mobile) use a static `next build` export. Tauri
runs the frontend build (via `beforeBuildCommand`) before starting the dev
server -- the WebView loads the static files from `../out` on all platforms.
For dev builds, you can optionally deploy the frontend via ibl.ai hosting
(Vercel) with the [`/iblai-vibe-ops-deploy`](../../ship/iblai-vibe-ops-deploy/SKILL.md) skill.
That deploys the app and updates `devUrl` in `tauri.conf.json`.
## Mobile Safe Area
The generated CSS includes `padding: env(safe-area-inset-*)` on `<body>` and
the layout sets `viewport-fit=cover`. This prevents content from overlapping
with the iOS status bar / notch and Android status bar. If you see content
behind the status bar, verify:
1. `globals.css` (or `iblai-styles.css`) has `padding-top: env(safe-area-inset-top)` on body
2. `app/layout.tsx` metadata includes `viewport: "width=device-width, initial-scale=1, viewport-fit=cover"`
## Mobile SSO
For mobile builds (iOS/Android), the auth redirect must use a custom URI
scheme instead of `https://`. Set `TAURI_CUSTOM_SCHEME` in `iblai.env`:
```
TAURI_CUSTOM_SCHEME=myapp
```
This configures:
- `NEXT_PUBLIC_TAURI_CUSTOM_SCHEME` in `.env.local` — the frontend uses
this to pass `redirect-to=myapp://` to the auth SPA
- The Tauri deep-link handler to listen for `myapp://` callbacks
Without this, mobile SSO will redirect to an HTTPS URL that stays inside
the system browser session and never returns to the app.
## Build-Time Flags (Organization Lock & In-App Purchase)
`IBL_TENANT=<key>` locks a binary to one org and `IBL_IAP=1` enables the in-app-purchase path; both are Rust `option_env!` values set in the build shell. Full semantics, examples per platform, and the runtime behavior: [`references/build-time-flags.md`](references/build-time-flags.md).
## App Icons
Generate platform-ready icons from your logo (works for all platforms):
```bash
pnpm exec tauri icon path/to/logo.png
```
This creates all required sizes in `src-tauri/icons/`.
## List Available Devices
```bash
pnpm exec tauri device
```
---
## iOS
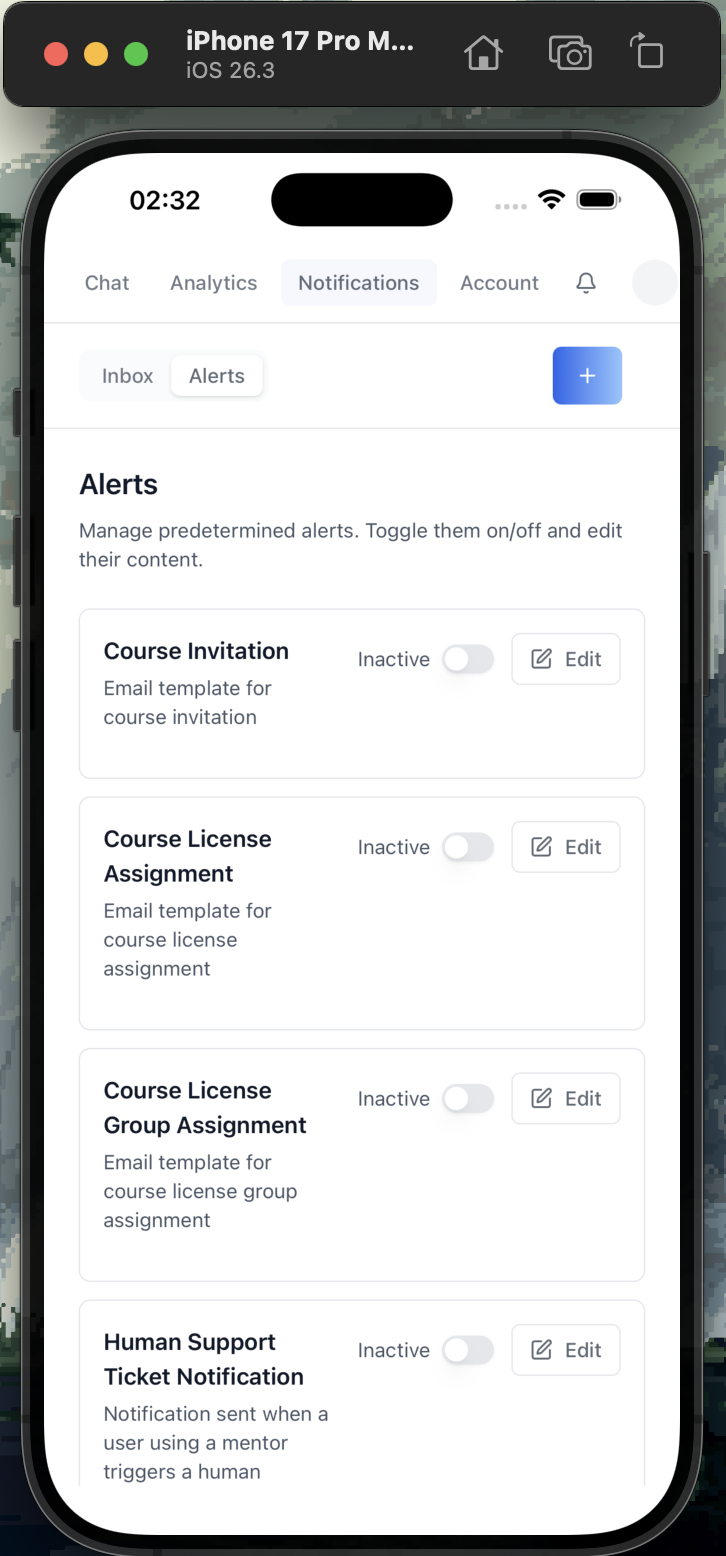
Build and run on iOS Simulator and real devices.
### iOS Prerequisites
- **macOS** (iOS builds require Xcode)
- **Xcode** installed from the Mac App Store (includes iOS SDK + Simulator)
- **Xcode Command Line Tools**: `xcode-select --install`
- **Rust iOS targets**:
```bash
rustup target add aarch64-apple-ios aarch64-apple-ios-sim
```
### Initialize iOS Project
Run this once after adding Tauri support:
```bash
pnpm exec tauri ios init
```
This generates `src-tauri/gen/apple/` with the Xcode project, Swift bridge
code, and iOS configuration.
> If you get a Rust target error, make sure both targets are installed:
> `rustup target add aarch64-apple-ios aarch64-apple-ios-sim`
### Run on iOS Simulator
First, list available simulators:
```bash
pnpm exec tauri device
```
**Always pick a device from the list.** Choose the most mainstream iPhone
(e.g., the newest Pro Max available). Do NOT run without a device name.
To point this dev build at a hosted frontend, deploy first via the
`/iblai-vibe-ops-deploy` skill (needs only `iblai.env`'s platform API key).
Then start the dev build:
```bash
pnpm exec tauri ios dev "iPhone 16 Pro Max"
```
The first build takes several minutes; subsequent builds are fast.
#### Troubleshooting Simulator
- **"No available iOS simulators"**: Open Xcode > Settings > Platforms > download an iOS runtime
- **Build fails with "linking" errors**: Verify Xcode path with `xcode-select -p`. If incorrect, the user should run `sudo xcode-select -s /Applications/Xcode.app/Contents/Developer` themselves (requires elevated privileges -- confirm with the user before suggesting this)
- **Simulator won't launch**: Try `xcrun simctl shutdown all` then retry
### Run on Physical iOS Device
Connect your iPhone via USB, then:
```bash
pnpm exec tauri ios dev --device
```
#### Requirements for Physical Devices
1. **Apple Developer account** (free or paid)
2. **Device registered** in your Apple Developer portal
3. **Development provisioning profile** configured in Xcode
To set up signing:
1. Open `src-tauri/gen/apple/<app>.xcodeproj` in Xcode
2. Select the target > Signing & Capabilities
3. Set your Team and Bundle Identifier
4. Xcode auto-manages provisioning profiles
> **Free developer accounts** can run on up to 3 devices for 7 days.
> A paid Apple Developer Program ($99/year) removes this restriction.
### Build Release .ipa
#### Local Build
```bash
pnpm exec tauri ios build
```
Or:
```bash
pnpm tauri:build:ios
```
The .ipa file is generated at `src-tauri/gen/apple/build/` (or use
`find src-tauri/gen/apple -name "*.ipa"` to locate it).
#### App Store Build (CI)
Generate the GitHub Actions workflow:
```bash
# create the workflow from assets/tauri/workflows/ (desktop, ios, windows-msix templates)
```
This creates `.github/workflows/tauri-build-ios.yml` which sets up the
full pipeline and uploads the .ipa as a build artifact.
##### Required GitHub Secrets for iOS CI
| Secret | Description |
|--------|-------------|
| `APPLE_API_KEY_BASE64` | Base64-encoded App Store Connect API key (.p8 file) |
| `APPLE_API_KEY_ID` | Key ID from App Store Connect > Users and Access > Keys |
| `APPLE_API_ISSUER` | Issuer ID from App Store Connect > Users and Access > Keys |
To encode your .p8 key:
```bash
base64 -i AuthKey_XXXXXXXXXX.p8 | pbcopy
```
---
## Android
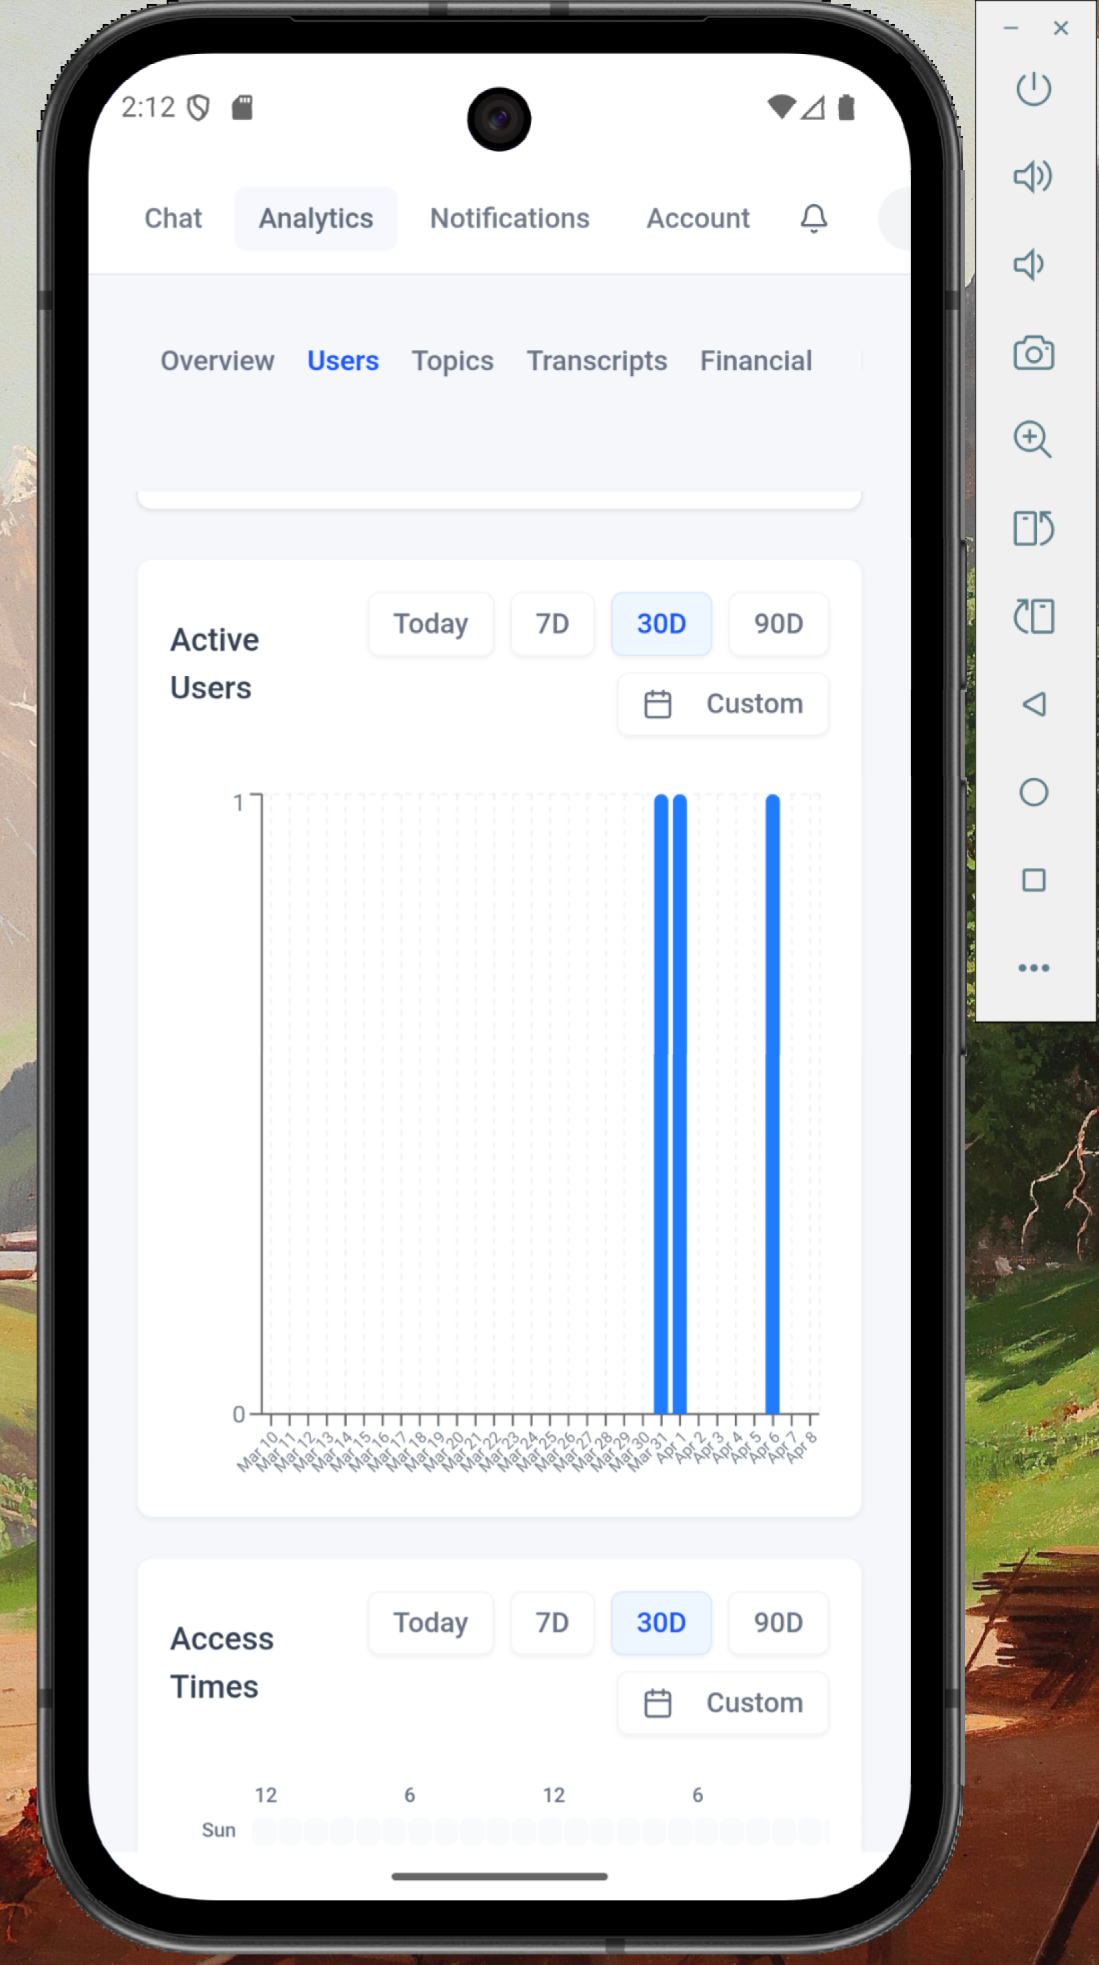
Build and run on Android emulators and real devices.
### Android Prerequisites
- **Android Studio** with SDK and NDK installed
- **Android SDK** (API level 24+)
- **Rust Android targets**:
```bash
rustup target add aarch64-linux-android armv7-linux-androideabi i686-linux-android x86_64-linux-android
```
### Initialize Android Project
```bash
pnpm exec tauri android init
```
This generates `src-tauri/gen/android/` with the Gradle project.
### Run on Android Emulator
First, list available emulators:
```bash
pnpm exec tauri device
```
**Always pick a device from the list.** Choose the most mainstream Pixel
(e.g., "Pixel_9", "Pixel_8" — whichever is the newest in the list).
Do NOT run without a device name.
To point this dev build at a hosted frontend, deploy first via the
`/iblai-vibe-ops-deploy` skill (needs only `iblai.env`'s platform API key).
Then start the dev build:
```bash
pnpm exec tauri android dev "Pixel_9"
```
### Run on Physical Android Device
Connect your device via USB with USB debugging enabled, then:
```bash
pnpm exec tauri android dev --device
```
### Build Release APK
```bash
pnpm exec tauri android build
```
Or:
```bash
pnpm tauri:build:android
```
#### Android CI
```bash
# create the workflow from assets/tauri/workflows/ (desktop, ios, windows-msix templates)
```
---
## macOS (Desktop)
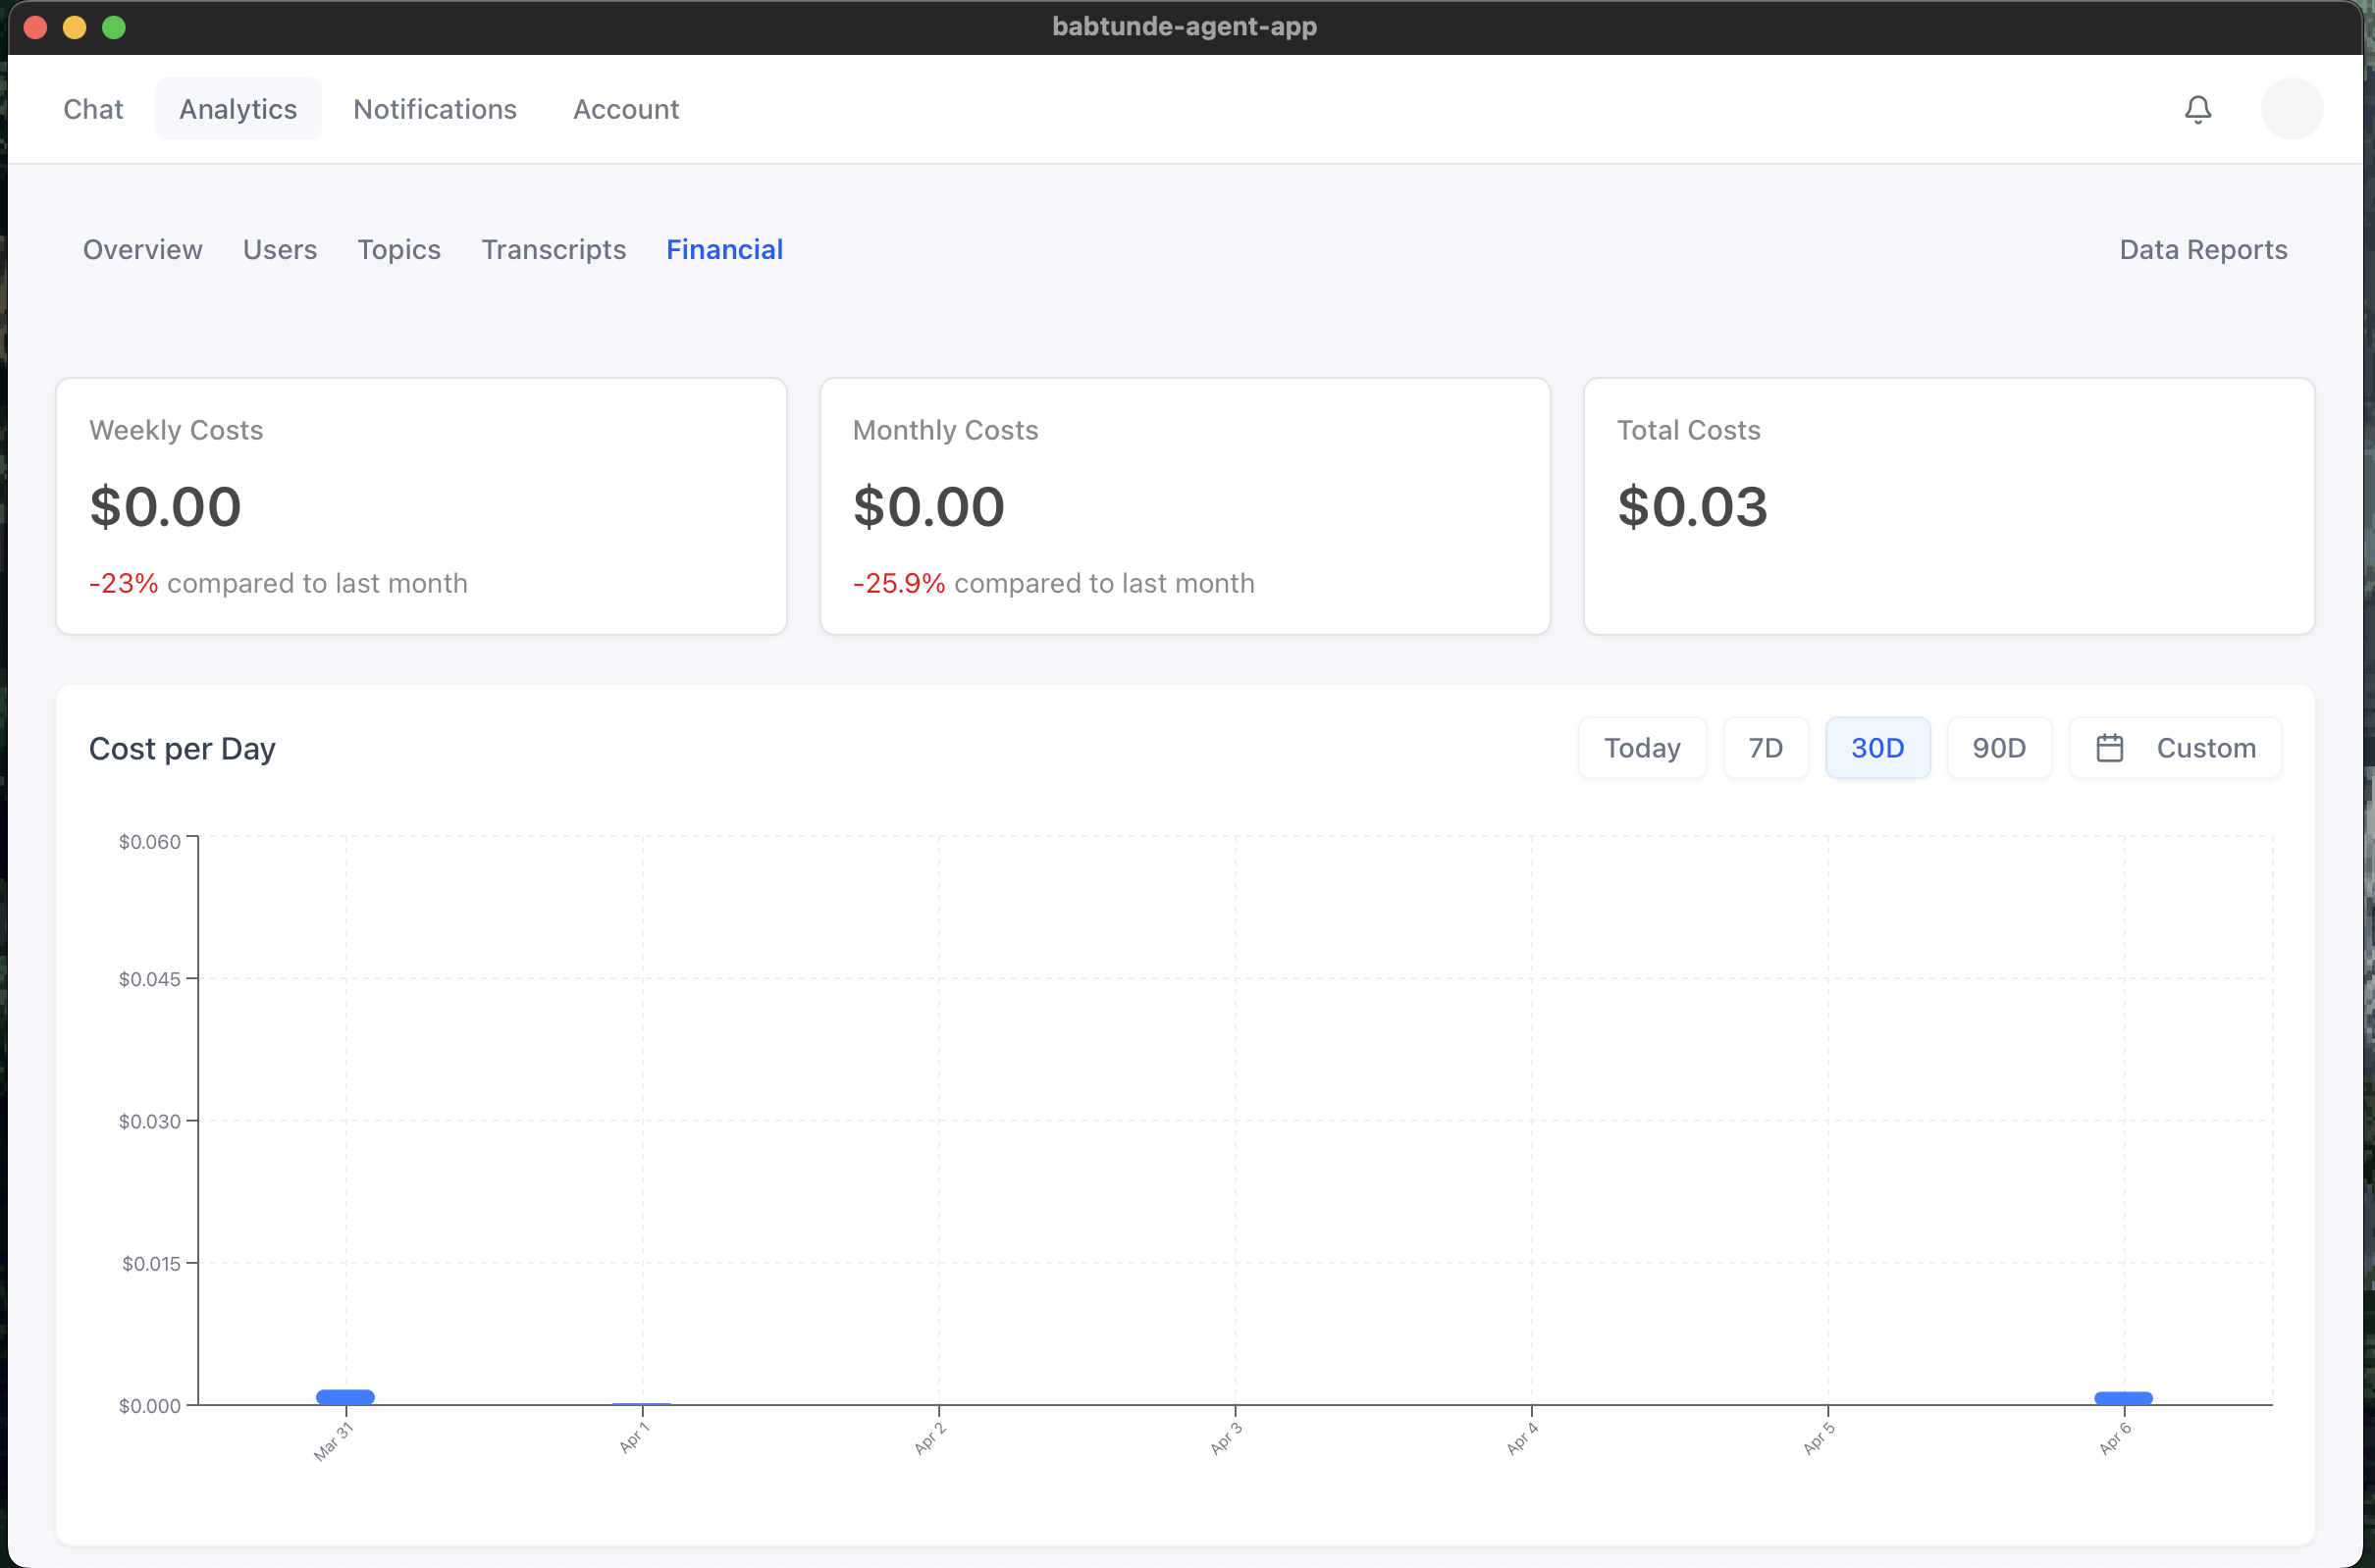
### macOS Prerequisites
- **Xcode Command Line Tools**: `xcode-select --install`
### Run in Dev Mode
To point this dev build at a hosted frontend, deploy first via the
`/iblai-vibe-ops-deploy` skill (needs only `iblai.env`'s platform API key).
Then start the dev build:
```bash
pnpm exec tauri dev
```
### Build Release .dmg / .app
```bash
pnpm exec tauri build
```
Or:
```bash
pnpm tauri:build
```
#### Signed + notarized release — CI or local
**CI:** copy `assets/tauri/workflows/tauri-release-macos-dmg.yml` into
`.github/workflows/`. On an `app-v*` tag push it builds a **signed + notarized**
universal `.dmg` (Intel + Apple Silicon) and attaches it to the tag's GitHub
Release; a manual run produces a build-only artifact.
**Local (no CI):** copy `assets/tauri/desktop-release.mk` +
`desktop-signing.env.example` to your project root and run
`make -f desktop-release.mk macos-dmg` — same sign + notarize, on your own Mac.
Either way needs Apple Developer ID credentials — full setup in
[`references/signed-release.md`](references/signed-release.md). For a quick
**unsigned** build across macOS/Linux/Windows, use
`assets/tauri/workflows/tauri-build-desktop.yml`.
---
## Surface
Build for Microsoft Surface tablets running Windows.
### Surface Prerequisites
- **Visual Studio** Build Tools with C++ workload
- **WebView2** runtime (included on Windows 11, downloadable for Windows 10)
### Run in Dev Mode
To point this dev build at a hosted frontend, deploy first via the
`/iblai-vibe-ops-deploy` skill (needs only `iblai.env`'s platform API key).
Then start the dev build:
```bash
pnpm exec tauri dev
```
### Build Release .msi / .exe
```bash
pnpm exec tauri build
```
The installer targets are configured in `src-tauri/tauri.conf.json` under
`bundle.targets` (includes `nsis` and `msi` by default).
#### Surface / Windows CI (signed NSIS, x64 + arm64)
Copy `assets/tauri/workflows/tauri-release-windows.yml` into
`.github/workflows/`. On an `app-v*` tag push it builds **signed** NSIS
installers for x64 and arm64 and attaches them to the Release. It signs with a
stored `.pfx` if you provide one, otherwise generates a self-signed cert in the
runner (zero setup) — see [`references/signed-release.md`](references/signed-release.md).
Requires `bundle.windows.certificateThumbprint: null` in `tauri.conf.json` (the
template already has it). To build **locally** instead, run
`make -f desktop-release.mk windows-nsis` on a Windows machine. For a Store /
sideload **MSIX** package instead, see
[`/iblai-vibe-windows-msix`](../../ship/iblai-vibe-windows-msix/SKILL.md).
---
## Linux (Desktop)
### Linux Prerequisites
- System dependencies (Debian/Ubuntu):
```bash
sudo apt install libwebkit2gtk-4.1-dev build-essential libssl-dev libgtk-3-dev libayatana-appindicator3-dev librsvg2-dev
```
### Run in Dev Mode
```bash
pnpm exec tauri dev
```
### Build Release .deb / .AppImage
```bash
pnpm exec tauri build
```
#### Linux CI
```bash
# create the workflow from assets/tauri/workflows/ (desktop, ios, windows-msix templates)
```
---
## CI and the command summary
The GitHub Actions workflows for every platform and the one-table summary of every `tauri` command used above are in [`references/ci-and-commands.md`](references/ci-and-commands.md).
## Reference
- [`/iblai-vibe-scaffold`](../../start/iblai-vibe-scaffold/SKILL.md) -- the project templates + assembly steps
- [`references/signed-release.md`](references/signed-release.md) -- signed + notarized macOS DMG and signed Windows NSIS release workflows (secrets, certs, tag triggering)
- [`references/tauri-commands.md`](references/tauri-commands.md) -- Tauri build commands, prerequisites, and MSIX notes
## Redirect origins for native shells
Mobile sign-in returns through the custom scheme (`TAURI_CUSTOM_SCHEME`, e.g.
`my-app://`); desktop returns to the deployed origin the shell loads. Both must
be in the organization's **allowed redirect origins** — ask your ibl.ai
operator — or sign-in never completes in the app.
Files in this skill
SKILL.md16 KB
assets/icons/128x128.png7.9 KB
assets/icons/128x128@2x.png24.5 KB
assets/icons/32x32.png1.1 KB
assets/icons/Square150x150Logo.png10.2 KB
assets/icons/Square310x310Logo.png33.3 KB
assets/icons/Square44x44Logo.png1.6 KB
assets/icons/Square71x71Logo.png3.2 KB
assets/icons/StoreLogo.png1.9 KB
assets/icons/Wide310x150Logo.png10.7 KB
assets/icons/icon.ico39 KB
assets/icons/icon.png24.5 KB
assets/tauri/desktop-release.mk3.2 KB
assets/tauri/desktop-signing.env.example957 B
assets/tauri/src-tauri/AppxManifest.xml.j21.8 KB
assets/tauri/src-tauri/Cargo.toml.j2637 B
assets/tauri/src-tauri/build-msix.ps1.j29 KB
assets/tauri/src-tauri/build.rs364 B
assets/tauri/src-tauri/capabilities/default.json.j2738 B



